How to Achieve a High-End Look on a Budget: Affordable Frame Options and Hacks for Elegant Home Decor in 2025
Want to transform your art collection without emptying your wallet? Creating a high-end look for your home decor doesn’t require spending a fortune on custom framing. With a few clever tricks and affordable frame options, you can display your artwork in a way that looks professional and expensive while staying within your budget.
Many homeowners struggle to frame their favorite pieces because professional framing services can cost hundreds of dollars per item. The right framing choices can completely transform a space and make even inexpensive art look valuable. By focusing on proper proportions, quality matting, and strategic frame selection, you can create a curated, sophisticated look that guests would never guess was achieved on a budget.
Understanding Frame Options
Selecting the right frame can transform ordinary artwork into statement pieces without breaking the bank.
Types of Frames
Wood frames provide a classic, warm look and range from inexpensive pine to pricier hardwoods. They work well with traditional art and photography.
Metal frames offer a sleek, contemporary appearance and typically cost less than quality wood frames. Aluminum options are particularly budget-friendly and lightweight.
Plastic and composite frames represent the most economical choice. Modern manufacturing has improved their appearance, making some nearly indistinguishable from more expensive materials.
Floating frames create the illusion of artwork hovering within the frame, adding a gallery-like quality to pieces.
Shadowbox frames provide depth for displaying three-dimensional objects and can be found at reasonable prices in standard sizes.
Custom Framing vs. Store-Bought
Custom framing delivers precise sizing and professional results but often comes with a significant price tag. Store-bought frames offer immediate availability and dramatically lower costs. Standard sizes (8×10, 11×14, 16×20) are particularly affordable at retailers like IKEA, Target, and craft stores.
Money-saving tip: Purchase pre-made frames with mats included, which adds a professional touch without the custom price. For oddly sized artwork, consider buying a larger standard frame with a custom-cut mat rather than a fully custom frame.
Maximizing Your Budget With Thrifting
Thrift stores offer treasure troves of affordable frames that can elevate your home decor without breaking the bank.
Finding Value at Thrift Stores
Visit multiple locations regularly as inventory changes frequently. Begin with a clear vision of what you need, perhaps gathering frames for a gallery wall by focusing on complementary styles rather than exact matches.
Look beyond the current state of frames – a scratched wooden frame could become extraordinary with minimal effort. Pay attention to quality construction, solid wood frames typically offer better value than plastic alternatives. Check for sturdy corners, undamaged glass, and complete backing hardware.
Repurposing and Upcycling Frames
Transform thrifted frames into high-end decor equivalents with simple techniques:
- Matte black paint for modern appeal
- Metallic gold or silver for luxury
- Chalk paint for vintage charm
- Distressed techniques for farmhouse style
Hardware updates make significant differences. Replace basic hanging mechanisms with quality wire or D-rings for stability and professional appearance.
DIY Framing Techniques
Creating your own frames can save money while adding a unique touch to your artwork.
Building Your Own Frames
Start by measuring your artwork precisely, then add about 1/8 inch allowance. Purchase wood molding from hardware stores, which is much cheaper than pre-made frames. Essential tools include:
- Measuring tape and pencil
- Miter saw or miter box with handsaw
- Wood glue and corner clamps
- Finishing nails (small gauge)
- Sandpaper (medium and fine grit)
Cut molding at 45-degree angles for perfect corners. Apply wood glue at each corner, then secure with clamps until dry. For extra stability, add small finishing nails. This DIY project typically costs 60-80% less than professional framing.
Decorative DIY Frame Customizations
Basic frames can be transformed with simple techniques:
- Gold leaf application for a luxurious look
- Various paint techniques (distressed finish, ombré effect, metallic spray)
- Adding corner ornaments or repurposing old jewelry
- Fabric wrapping for texture
IKEA frames make excellent bases for customization due to their simplicity and versatility.
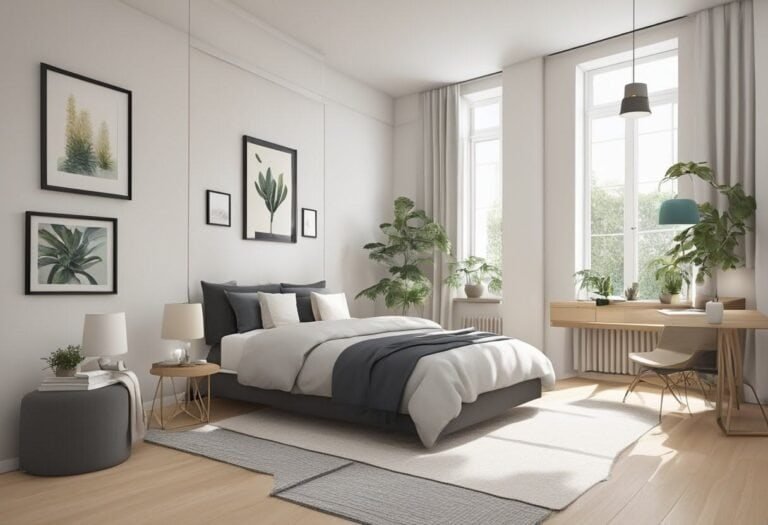
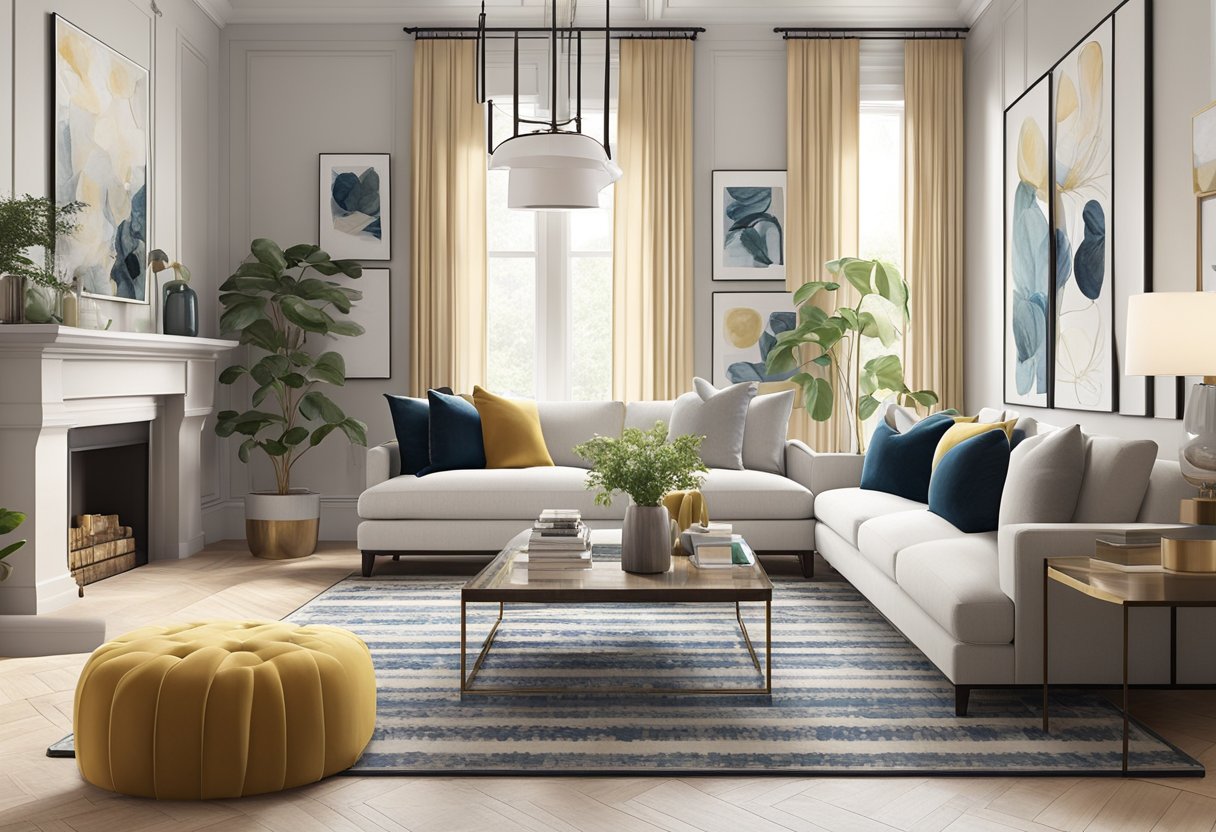
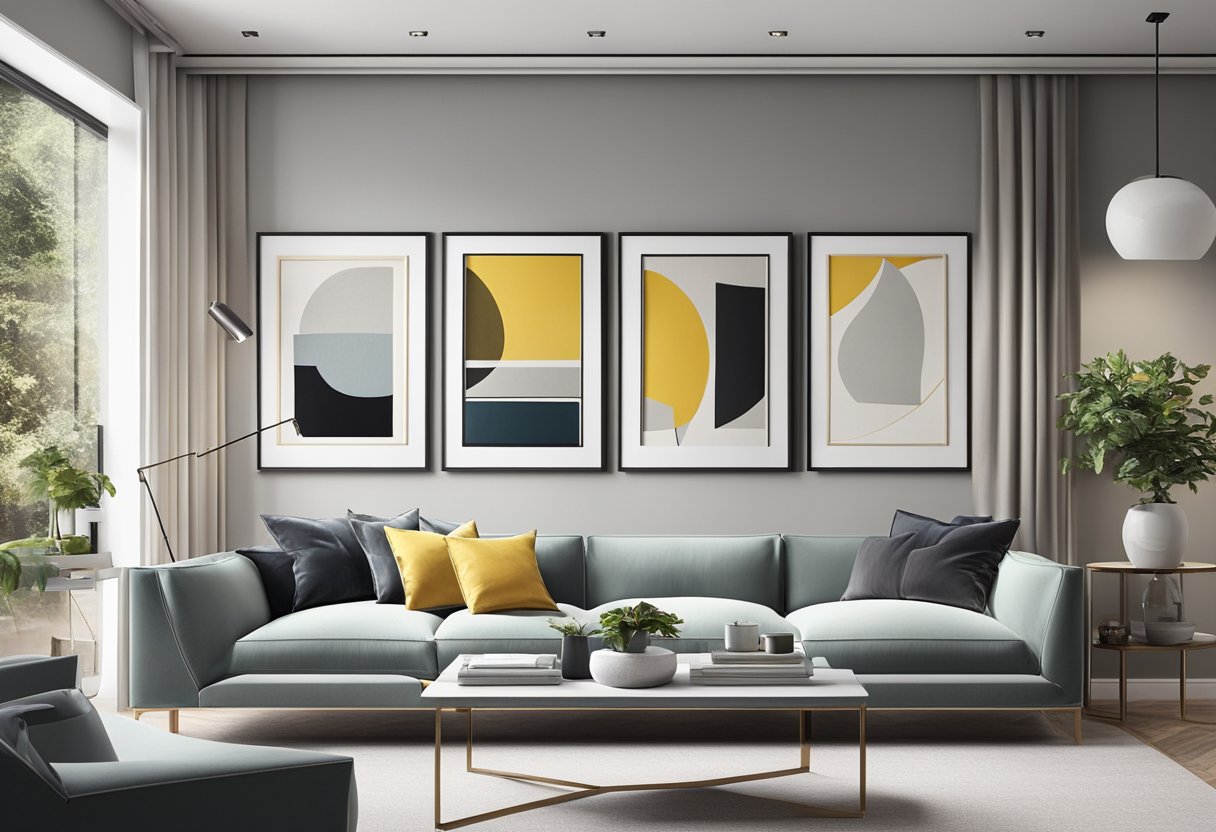
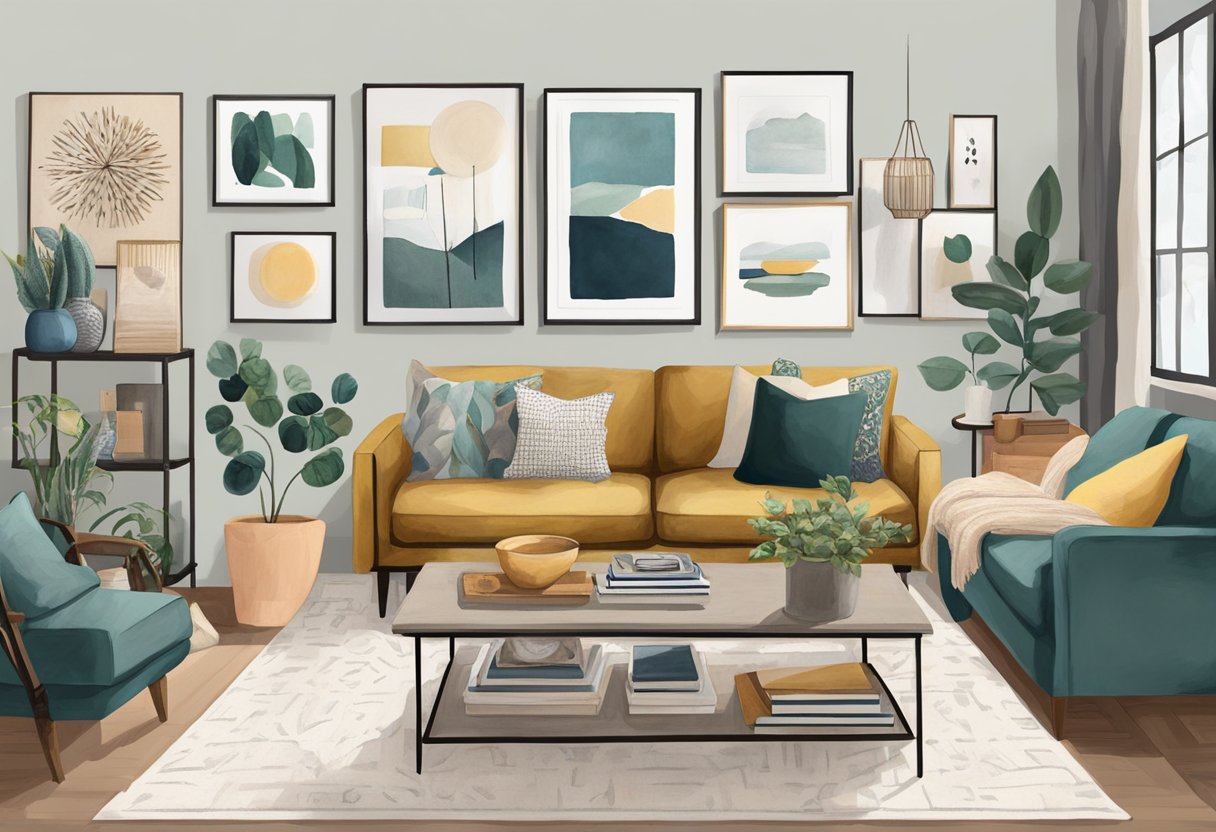
Creating a Gallery Wall on a Budget
Gallery walls transform blank spaces into personalized showcases without breaking the bank.
Choosing the Right Layout
Consider these popular arrangements:
- Grid layout: Perfect for uniform frames and a clean look
- Salon style: More organic with various frame sizes
- Horizontal line: Works well above furniture like sofas
Create a paper template for each frame and tape these to the wall before hanging anything. This prevents unnecessary wall damage and helps visualize the final arrangement. Leave 2-3 inches between frames for breathing room.
Selecting Affordable Artwork
Finding budget-friendly art doesn’t mean sacrificing style. Dollar Tree frames contain real glass and cost just $1 each, available in sizes up to 11×14. Consider these inexpensive art sources:
- Free printables from design websites
- Your own photography printed at home or at budget photo services
- Children’s artwork framed professionally
- Vintage book illustrations or calendar pages
- Fabric swatches or wallpaper samples
Balancing Variety and Cohesion
A gallery wall should feel collected yet cohesive. Choose a consistent element across all pieces: similar color palettes, matching frames, or common themes.
Mix frame sizes and orientations for visual interest. Include 3-5 different sizes but keep finishes similar for a polished look. Add dimension with small 3D objects like mirrors or decorative items. Don’t overcrowd the wall—allow each piece to breathe for a more sophisticated appearance.
Advanced Framing Hacks
Once you master specialized techniques, you can create gallery-worthy displays without the high-end price tag.
Utilizing Float Frames for a Modern Look
Float frames create the illusion of artwork hovering inside the frame, giving an upscale gallery appearance. This technique works especially well with canvas pieces and thick paper art.
To create a DIY float frame:
- Purchase simple wooden molding from a hardware store
- Cut to size with a 45° angle at corners
- Leave a ¼” gap between art and frame edge
- Secure art to backing with acid-free mounting tape
For added sophistication, paint the inside edges of the frame black to create shadow contrast.
Innovative Use of Materials and Textures
Thinking beyond traditional wood opens up creative and budget-friendly framing possibilities:
Unexpected frame materials:
- Copper or aluminum plumbing pipe (cleaned and sealed)
- Salvaged wood planks or barn wood
- Bamboo poles (split lengthwise)
- Concrete edging (for industrial aesthetic)
Try combining metal corners with wood sides or adding decorative metal mesh as a textured mat alternative. For apartment dwellers, lightweight materials like balsa wood create apartment-friendly framing solutions that won’t damage walls.
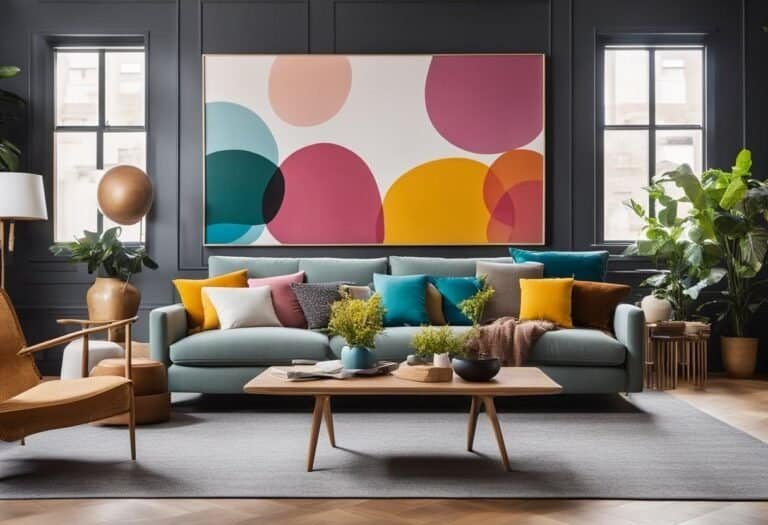
The Importance of Art in Home Decor
Art transforms a house into a home by adding character and emotional depth. Wall art creates focal points in rooms that might otherwise feel flat. Different types of art serve different purposes:
- Paintings add color and movement
- Photographs preserve memories
- Sculptures introduce dimension
- Textile art adds texture
Even the most budget-friendly furniture can look high-end when paired with thoughtfully selected artwork. This is why many designers recommend spending on art rather than expensive furniture when working with limited resources.
Maintaining a Luxurious Aesthetic
The key to a truly upscale home environment lies in careful maintenance and strategic combination of pieces.
Consistent Styling Choices
Creating a luxury look requires consistency in your design elements. Choose a cohesive color palette with no more than 3-4 main colors for your entire space. When displaying framed art, maintain uniform spacing between pieces and use the same mat color to tie the collection together.
Regular maintenance matters: dust frames weekly, clean glass monthly, and replace yellowed mats every few years to preserve the luxurious look of budget frames.
Mixing High and Low-End Elements
Invest in one statement piece per room—perhaps an elegant mirror or high-quality frame for a central artwork. Surround investment pieces with carefully selected budget items that complement rather than compete. Consider these high-impact/low-cost combinations:
- Expensive artwork + budget frames with custom mats
- Designer mirror + DIY framed botanical prints
- Quality picture lights + thrift store frames painted in matching colors
Closing Thoughts
Creating a high-end look with frames doesn’t require spending a fortune. Custom matting is one of the most effective ways to elevate frame appearance. IKEA frames remain a versatile and budget-friendly option that can be hacked in numerous creative ways.
Key strategies to remember:
- Use spray paint in metallic finishes to update basic frames
- Add decorative elements like corner embellishments
- Create custom-sized mats for standard frames
- Group similar frames together for a gallery effect
The goal isn’t to fool visitors into thinking you spent thousands on framing but to create a polished, intentional look that complements your space and personal style. With these framing hacks, anyone can display their treasured photos, art, and memorabilia in a way that looks refined and thoughtful—all while protecting their budget.