Advanced Photography Framing: Elevate Your Art with Professional Presentation
Photography is about more than just taking pictures. The way you present your images can make a big difference in how people see them. Matting and mounting photographs adds depth and focus to your work, drawing the viewer’s eye to key elements of the composition.
Skilled photographers know that framing goes beyond the camera lens. It includes choosing the right mat color and size to complement the image. Mounting techniques can affect how long a photo lasts and how it looks on display. These steps are important for both amateur and professional photographers who want their work to look its best.
Advanced framing methods can take photography to new levels. Custom-cut mats, float mounting, and museum-quality materials protect photos and make them stand out. Learning these techniques gives photographers more control over the final look of their images. It allows them to create a complete artistic vision from capture to display.
Essentials of Photography Framing

Framing a photograph involves more than just putting it in a frame. It’s about enhancing the image and making it stand out. Key aspects include composition, matting, and frame selection.
Understanding Composition
Composition is crucial in photography framing. The rule of thirds helps create balanced images. Imagine a grid dividing the photo into nine equal parts. Place important elements along these lines or at their intersections.
Leading lines guide the viewer’s eye through the image. These can be roads, rivers, or other natural elements. They draw attention to the main subject.
Negative space, the empty areas in a photo, can be just as important as the subject. It gives the eye a place to rest and can make the subject more prominent.
For portraits, consider leaving more space in the direction the subject is facing. This creates a sense of movement and interest.
The Role of Matting in Framing
Matting is the border between the photograph and the frame. It serves both practical and aesthetic purposes. Matting protects the photo from touching the glass, which can cause damage over time.
The color of the mat can enhance or contrast with the photo. A white or neutral mat is often a safe choice. It doesn’t compete with the image. Colored mats can complement elements in the photo.
The width of the mat affects the overall look. A wider mat can make a small photo appear larger. It also draws more attention to the image.
Choosing the Right Frame
The frame is the final element in presenting a photograph. It should complement the image without overpowering it.
Frame material matters. Wood frames suit traditional or nature photos. Metal frames work well for modern or minimalist images.
Color is key. Black frames are versatile and create a strong border. They work well for black and white photos. Wooden frames in natural tones complement landscape photos.
Frame width affects the overall look. Thin frames are subtle. Wider frames make a bold statement. Consider the size of the photo and its intended display location when choosing frame width.
Matting Techniques
Matting enhances the visual appeal of photographs and protects them from damage. It involves careful selection of materials, precise cutting, and proper mounting methods.
Selecting Mat Boards
Mat boards come in various colors, textures, and qualities. Archival-grade, acid-free boards are best for long-term preservation. These prevent discoloration and damage to the artwork.
Choose a color that complements the photo without overpowering it. Neutral tones like white, off-white, and black are popular choices.
Consider the thickness of the board. Standard 4-ply boards work well for most projects, while 8-ply boards create a more dramatic effect.
Texture can add visual interest. Smooth boards have a clean look, while textured ones provide depth.
Cutting Techniques with a Mat Cutter

Precision is key when cutting mat boards. A professional mat cutter ensures clean, straight edges.
Steps for cutting:
- Measure and mark the opening on the back of the mat board
- Set up the mat cutter with the correct blade depth
- Make a test cut on scrap material
- Cut the opening, starting with the longest side first
For decorative effects, try V-grooves or multiple openings. These add visual interest to the presentation.
Always cut on a clean, flat surface to avoid errors. Replace blades regularly for the best results.
Conservation and Archival Mounting
Conservation framing protects artwork from environmental damage. It uses acid-free materials and reversible mounting techniques.
Hinge mounting is a popular archival method. It allows the artwork to hang freely, reducing stress on the paper.
Steps for hinge mounting:
- Create hinges using acid-free Japanese paper and wheat paste
- Attach hinges to the back of the artwork
- Secure the hinges to the backing board
Avoid using adhesives directly on the artwork. This can cause permanent damage over time.
Use spacers between the artwork and glazing to prevent direct contact. This reduces the risk of moisture damage and sticking.
Mounting Practices
Mounting is a crucial step in preserving and displaying photographs. It helps protect images and keeps them flat for framing. Different techniques offer unique benefits for various print types and preservation needs.
Dry Vs. Wet Mounting
Dry mounting uses heat to attach prints to a backing board. It’s great for large prints and prevents rippling. This method is permanent and works well with most paper types.
Wet mounting involves adhesives and is better for delicate or valuable prints. It allows for easier removal if needed. This technique is often used for museum-quality preservation.
Both methods have pros and cons:
- Dry mounting: More permanent, flatter result
- Wet mounting: Less damaging, reversible
Choose based on print value, size, and long-term plans for the piece.
Pressure-Sensitive Techniques
Pressure-sensitive mounting uses adhesive that activates with applied pressure. It’s a popular choice for its ease of use and clean application.
Key benefits:
- No heat required
- Works with many print types
- Allows for repositioning during application
This method is ideal for temporary displays or when you might want to change the mounting later. It’s less permanent than dry mounting but more secure than photo corners.
Using Hinging and Photo Corners
Hinging and photo corners are removable mounting options. They’re perfect for valuable prints or when you want to preserve the print’s edges.
Hinging uses paper or cloth tape to attach the print to a backing. It allows the print to hang freely, reducing stress on the paper.
Photo corners hold the print at its edges. They’re easy to use and don’t touch the print surface. This method is great for:
- Antique photos
- Prints you plan to remove later
- Displaying without damaging the print
Both techniques are favored by conservators for their gentle approach to preservation.
Frame Types and Materials
Frame choice shapes how artwork is presented and preserved. Materials and styles impact both aesthetics and protection.
Metal Vs. Wood Frames
Metal frames offer a sleek, modern look. They’re lightweight yet durable. Aluminum is a popular choice for its affordability and resistance to warping.
Wood frames provide a classic, warm aesthetic. They come in many styles and finishes. Oak, pine, and maple are common options. Wood can be stained or painted to match decor.
Mounting techniques vary between metal and wood frames. Metal frames often use spring clips, while wood frames may use points or flexible tabs.
Both frame types can be suitable for photographic prints. The choice depends on the image style and display environment.
The Impact of UV Glass and Glazing
UV glass protects artwork from harmful ultraviolet rays. It helps prevent fading and deterioration of photographic prints.
Standard glass offers basic protection. UV-filtering glass blocks up to 99% of UV rays. This is crucial for valuable or historic photographs.
Glazing options include:
- Regular glass
- UV-filtering glass
- Museum glass (low reflection)
- Acrylic (shatter-resistant)
Proper glazing is essential for long-term preservation. It shields prints from dust, humidity, and physical damage.
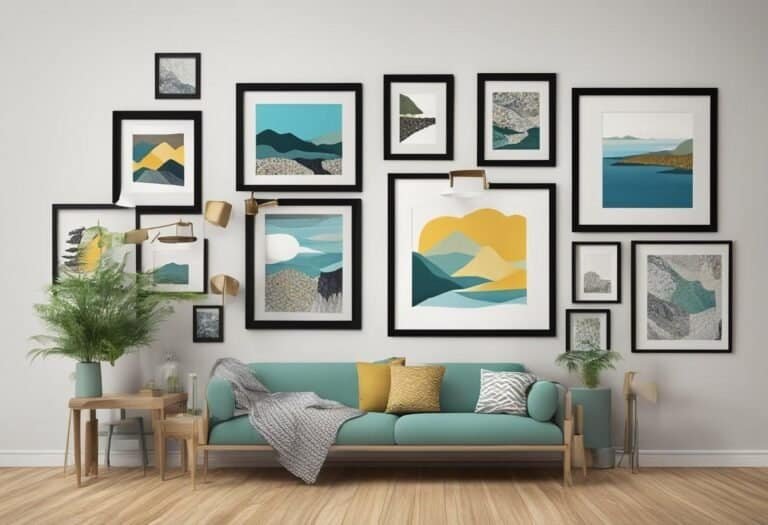
Contemporary Floater Frames
Floater frames create a unique, modern look. They give the illusion that the artwork is floating within the frame.
Key features of floater frames:
- Gap between artwork and frame edge
- Visible sides of the canvas or mount
- Often used for gallery-wrapped canvases
Floater frames work well with contemporary photographic prints. They draw attention to the entire piece, including edges.
These frames can be made of wood or metal. They’re typically deeper than traditional frames to accommodate the floating effect.
Floater frames highlight the artwork as a three-dimensional object. This style adds depth and visual interest to the presentation.
Enhancing Presentation
The right presentation enhances a photo’s impact and longevity. Proper care and materials help protect mounted photos for years to come.
Caring for Mounted Photos
Custom framing plays a key role in photo presentation. Use archival quality materials to prevent damage over time. Acid-free mats and backings help preserve colors and prevent yellowing.
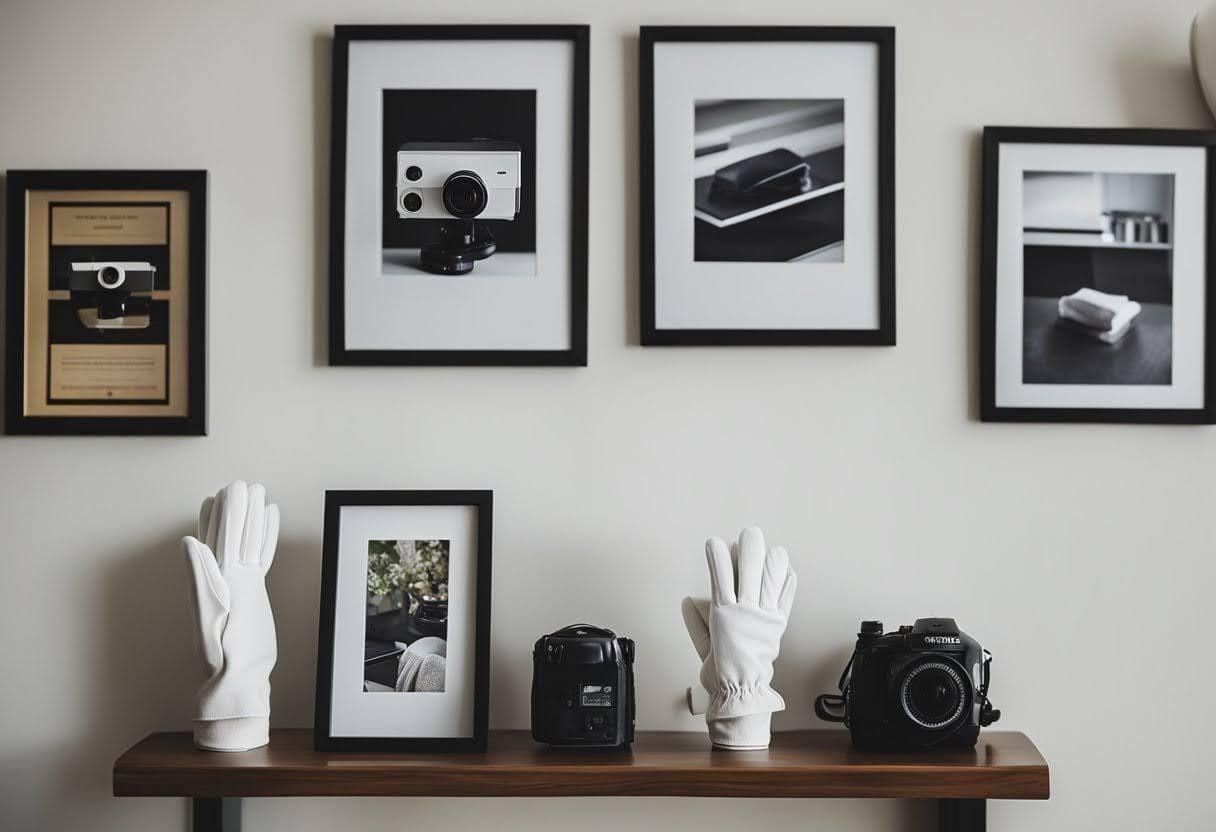
Handle mounted photos with clean cotton gloves to avoid fingerprints and oils. Store them in a cool, dry place away from direct sunlight. Humidity and temperature changes can cause warping or mold growth.
Clean framed photos gently with a soft, dry cloth. Avoid liquid cleaners that may seep behind the glass. For stubborn dirt, use a slightly damp microfiber cloth, but be careful not to let moisture reach the photo or mat.
When moving framed photos, carry them vertically to prevent sagging. Large frames may need additional support to prevent bowing. Proper care ensures mounted photos stay pristine for years of enjoyment.
Supplementary Skills
Proper handling of materials and professional training are crucial for successful framing. These skills ensure the longevity and quality of framed artwork.
Best Practices for Handling Materials
Careful handling of framing materials is key. Use clean hands or wear gloves when touching artwork. Keep work areas clean and free of dust.
Choose acid-free mount board to prevent yellowing over time. For delicate pieces, consider conservation mounting techniques.
When using mounting strips, apply even pressure to avoid bubbles or wrinkles. Test adhesives on a small area first to check for reactions.
Store materials flat in a cool, dry place. Avoid extreme temperatures and humidity. Handle glass and acrylic with care to prevent scratches.
Professional Training and Techniques
Formal training can greatly improve framing skills. Many art supply stores offer workshops on matting and mounting. Online courses are also available for learning at your own pace.
Professional framers often use specialized tools like mat cutters and point drivers. Practice with these tools improves precision and speed.
Conservation framing techniques are important for valuable or historical pieces. These methods use reversible adhesives and archival materials.
Learning color theory helps in choosing complementary mat colors. Understanding different mounting styles, such as float mounting, expands creative options.
Regular practice and staying updated on new materials and methods are essential for maintaining professional-level skills.