10 Professional Picture Framing Tips: Quality Results on a Budget
Picture framing can transform ordinary photos and artwork into stunning displays, but professional framing services often come with high price tags. With the right techniques and materials, you can achieve professional-looking results while staying within budget. Here are 10 expert tips to help you create beautiful frames without breaking the bank.
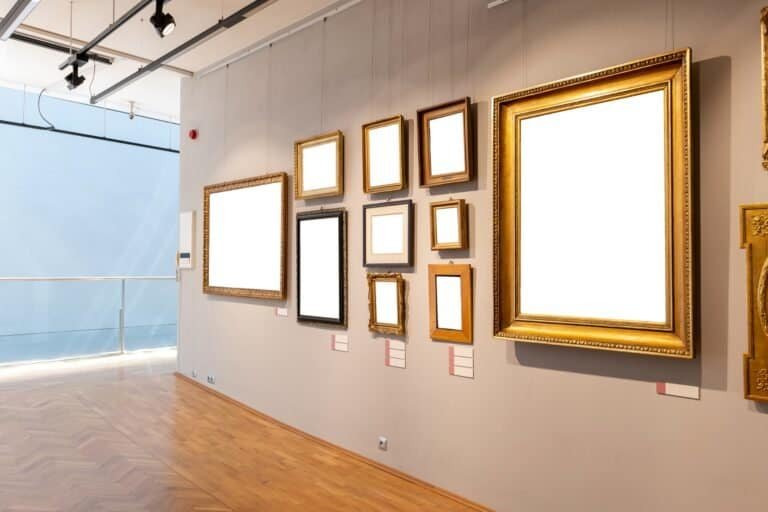
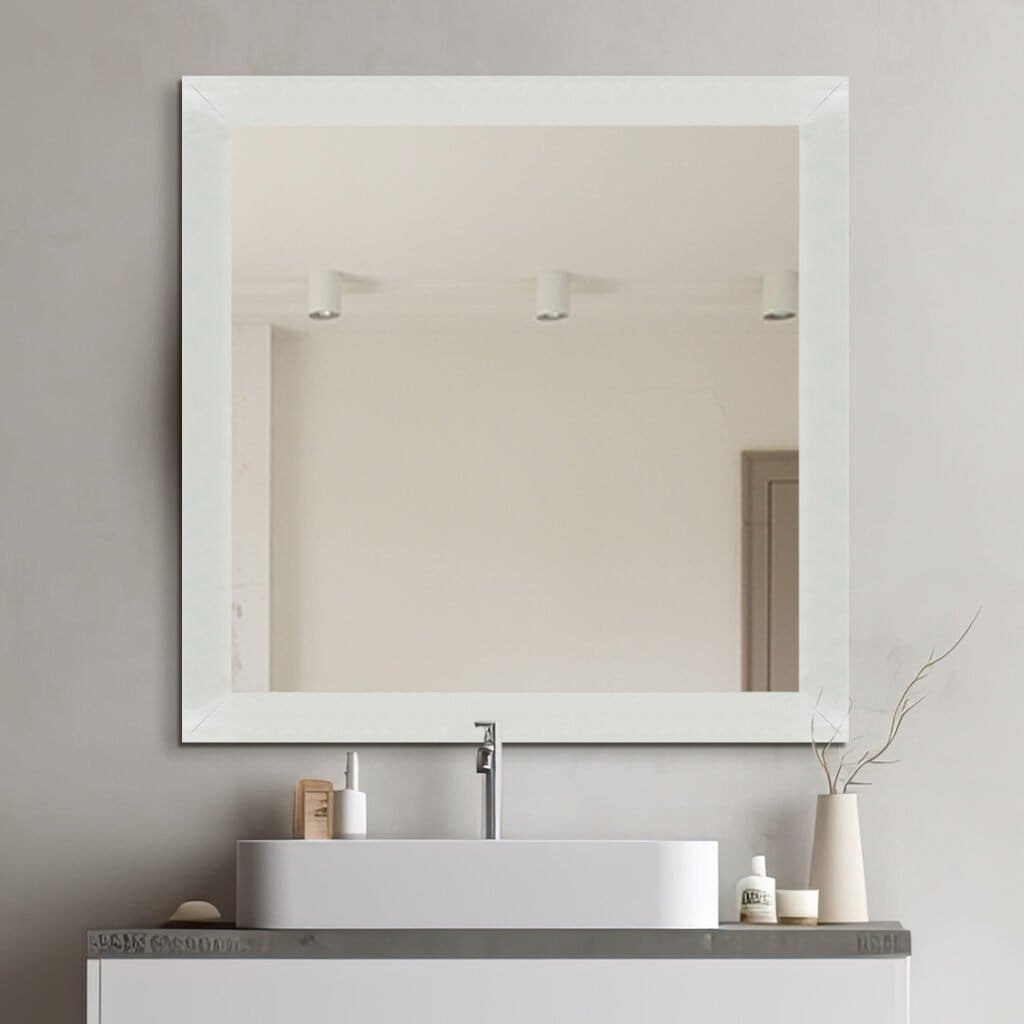
1. Choose the Right Frame Material
![]()
The right frame material impacts both protection and visual appeal. Wood frames offer a traditional look in various finishes and work well for most home settings. Metal frames provide a sleek, modern alternative that’s typically more affordable and lightweight. Plastic frames are the most budget-friendly option—perfect for temporary displays or children’s artwork.
At Mirror and Frame, we offer several premium finishes that can suit any decor style:
- Gold and Rose Gold: Add warmth and elegance to traditional or glamorous spaces
- Silver: Creates a clean, contemporary look that pairs well with modern decor
- Black: Offers a timeless, sophisticated option that makes artwork pop
- White: Provides a fresh, bright frame that works beautifully with colorful pieces
- Walnut: Delivers a subtle, refined metallic tone that complements neutral decor
Consider your artwork’s style and your home décor when selecting materials. A rustic wooden frame might complement nature photography, while a slim metal frame might better showcase abstract art.
2. Master Precise Measuring Techniques

Accurate measurements ensure your artwork fits perfectly. Measure width and height to the nearest 1/8 inch. For irregularly sized pieces, measure the widest and tallest points.
When framing DIY:
- Measure twice before cutting
- Use a square to verify angle accuracy
- Add 1/8 inch for expansion room
- Test measurements with inexpensive materials first
Standard frame sizes (8×10, 11×14, 16×20) often cost less than custom sizes, so consider these when creating or trimming artwork.
3. Select the Perfect Mat
Mats create space between artwork and glass, preventing damage from condensation. They also add visual impact to your piece. Standard mat widths range from 1.5 to 3 inches, with wider mats giving artwork a more prestigious look.
Acid-free, conservation-quality mat board prevents yellowing over time. For valuable artwork, this upgrade is worth the cost. White, off-white, and neutral colors remain versatile choices.
Double matting adds visual depth. A thin accent mat beneath a wider top mat can highlight colors without overwhelming the artwork. Save money by using quality materials for the visible top mat and standard materials for backing.
4. Use the Right Tools (Without Breaking the Bank)
You don’t need professional equipment for occasional framing. A basic toolkit includes:
- Metal ruler and tape measure
- Carpenter’s square
- Mat cutter or sharp craft knife
- Miter saw or miter box with handsaw
- Point driver or staple gun
- Wood glue or frame joining adhesive
Budget alternatives: Pre-cut mats from craft stores eliminate cutting equipment needs. For simple frames, pre-cut frame kits require only basic assembly. A staple gun can substitute for a point driver, and painter’s tape can temporarily hold corners while glue dries.
5. Source Affordable Materials Smartly

Ready-made frames from craft stores offer significant savings compared to custom framing shops. Thrift stores and second-hand shops often have high-quality frames at a fraction of retail prices—look for solid wood frames that can be refinished or repainted.
Online retailers frequently offer sales and bulk discounts. Consider buying during seasonal sales or using coupons from craft stores.
For glazing, Plexiglas offers a lightweight, shatter-resistant, and affordable alternative to glass. Standard glass works well for most projects, while UV-protective glass is worth considering for valuable artwork.
6. Cut Your Own Mats Like a Pro
Cutting your own mat board saves money while adding a professional touch. Start by measuring the exact dimensions of your frame’s glass. A dedicated mat cutter provides more consistent results than general-purpose tools.
Always cut on a clean, flat surface using a metal ruler to mark cutting lines lightly. For beveled edges, hold the mat cutter at a consistent 45-degree angle throughout the cut.
Pro tip: Cut in one smooth motion rather than stopping and starting to avoid jagged edges. Practice on scrap pieces first.
7. Mount Artwork Properly for Longevity
Use acid-free materials when mounting artwork to prevent yellowing and deterioration. Secure photos using:
- Archival corner mounts
- Small corner stickers
- Acid-free linen tape (never use masking or scotch tape)
Position the artwork precisely before mounting. Create a light pencil mark to indicate placement, and avoid touching the front of photographs with bare fingers.
For valuable pieces, consider creating an air gap between the artwork and glass using matting or spacers to prevent sticking if condensation forms.
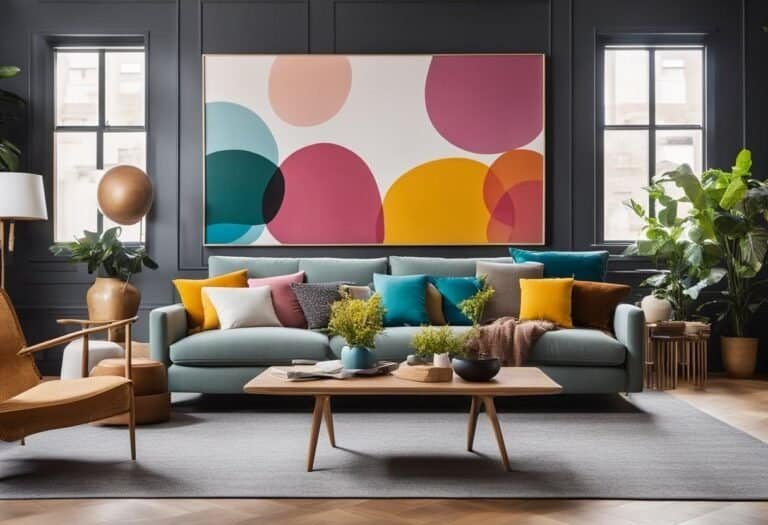
8. Create a Cohesive, Professional Look
Focus on the mat and frame combination rather than expensive materials. Simple frames can look professional when paired with well-cut mats that complement the artwork’s colors.
White or black frames remain versatile classics that work with most art styles, creating a gallery-like presentation without the premium price.
Get creative with existing frames. Repurpose thrift store finds with a light sanding and fresh coat of paint. Consider floating frames with two pieces of glass and metal clips for a contemporary look that’s budget-friendly.
9. Protect Your Artwork from Damage
UV protection is essential for preventing fading. Consider these affordable options:
- UV-filtering acrylic sheets
- UV spray coatings for regular glass
- UV-protective film added to existing frames
Hang framed pieces away from direct sunlight and heat sources. Rotate displayed pieces periodically to prevent uneven fading.
Prevent moisture damage by sealing the back with acid-free backing board and framer’s tape. Maintain stable environmental conditions—avoid hanging valuable pieces in bathrooms or kitchens where humidity fluctuates.
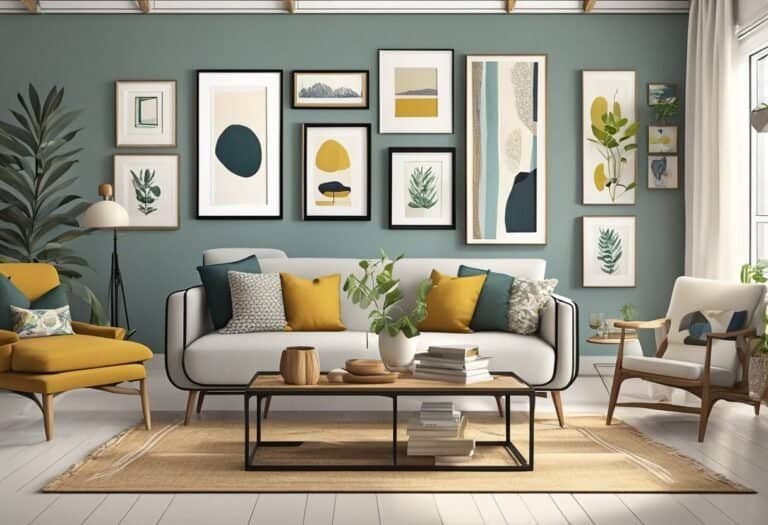
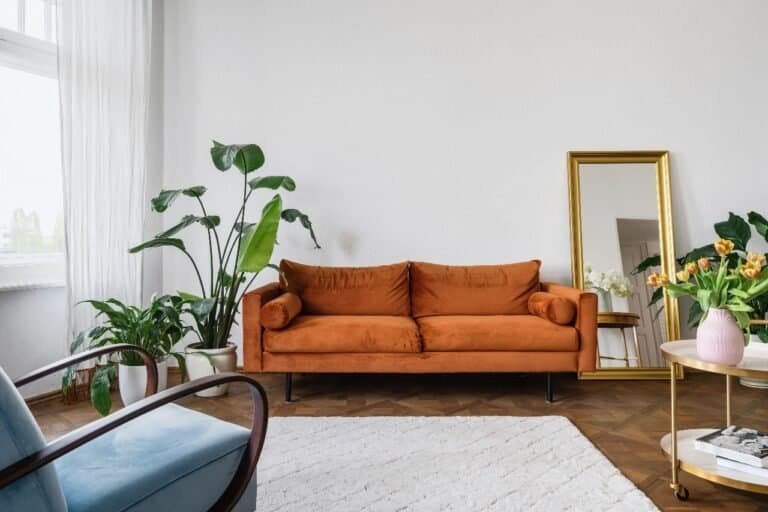
10. Hang and Display Like a Gallery Pro
Match your hanging hardware to the weight of your framed piece:
- Lightweight frames: picture hanging hooks with a small nail
- Medium-weight pieces: double-nail hangers or anchored screws
- Heavy artwork: wall anchors or stud-mounted hardware
Hang artwork with the center at approximately 57-60 inches from the floor (average eye level). When hanging above furniture, leave 8-12 inches of space between the furniture top and frame bottom.
For gallery walls, plan your layout on the floor first. Maintain consistent spacing between frames (2-3 inches is standard), and start with a central, anchor piece. Consider these arrangements:
- Grid pattern (formal, structured)
- Salon style (organic, varied frames)
- Horizontal line (clean, contemporary look)
Maintaining Your Frames
Keep your framed artwork looking great with regular care. Clean frames every 2-3 weeks with a soft microfiber cloth. For glass, spray ammonia-free cleaner onto your cloth (never directly onto the glass), wipe gently, and dry immediately.
Check frames periodically for damage, looking for loose corners, discoloration, condensation, or warping.
With these 10 tips, you can create beautiful, professional-looking framed artwork without spending a fortune. The right combination of materials, techniques, and creative thinking will help you showcase your treasured photos and art pieces in a way that enhances your home’s style while protecting your memories for years to come.