DIY Floating Picture Frames: Create a Stunning Modern Gallery Wall
Ever walked into a gallery and admired how artwork seems to float magically within its frame? That sleek, contemporary look isn’t just for high-end galleries anymore. With some basic tools and a free afternoon, you can create your own floating picture frames that’ll transform your walls and showcase your favorite photos and art pieces with style.
Why Choose Floating Frames?

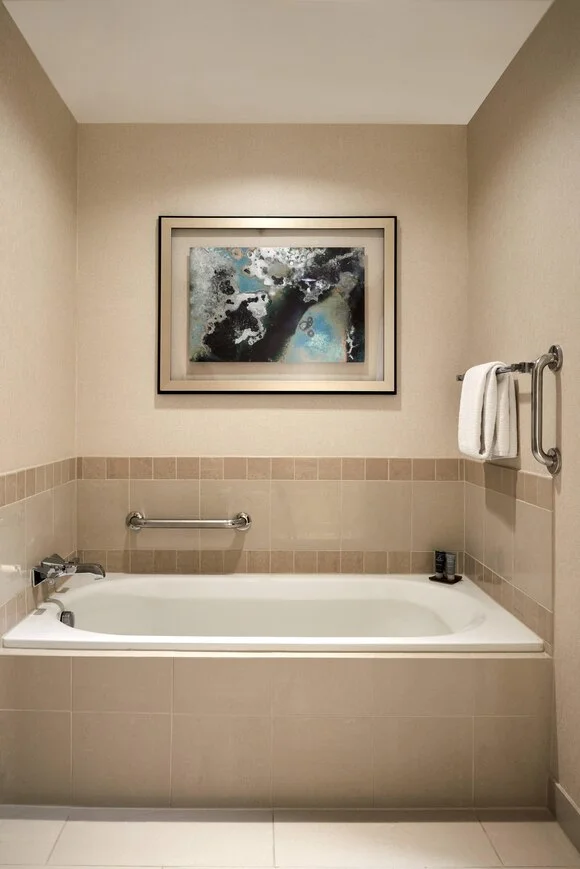
Floating frames create visual depth by suspending your artwork with visible space between the piece and frame edges. This modern display technique highlights dimensionality while adding contemporary elegance to any room.
The best part? While store-bought floating frames can cost a small fortune, building your own costs a fraction of the price and allows complete customization to perfectly match your space.
What You’ll Need
Materials:
- Wood boards (pine, oak, or maple work well)
- Glass or acrylic sheet cut to size
- Acid-free backing board
- Spacers (clear plastic or wood)
- D-rings and picture wire
- Wood glue
- Wood stain or paint
- Small nails or brads
Tools:
- Measuring tape and square
- Miter saw or miter box
- Sandpaper (120-220 grit)
- Clamps
- Drill with small bits
- Screwdriver
- Hammer
Setting Up Your Workspace

Before diving in, create a clean, organized workspace with:
- Good lighting
- A sturdy workbench or table
- Proper ventilation (especially important when applying finishes)
- Safety gear (safety glasses, dust mask, work gloves)
Remember, an organized space makes for efficient work and better results. Lay out all materials before starting to prevent interruptions during the building process.
Step-by-Step Assembly Guide
1. Measure and Cut
- Measure your artwork precisely
- Add at least ¼ inch on all sides for the floating effect
- Cut wood pieces with 45-degree angles for corners
- Sand all edges thoroughly
2. Assemble the Frame
- Arrange pieces to form a rectangle, ensuring 90-degree corners
- Apply wood glue to mitered edges
- Use corner clamps to hold pieces together
- Reinforce with finishing nails or L-brackets
- Allow glue to dry completely (24 hours recommended)
- Fill nail holes with matching wood putty
3. Prepare the Glass
- Cut glass/plexiglass slightly smaller than the frame opening
- Clean thoroughly to remove fingerprints and dust
- Apply acid-free tape around the perimeter
- Place into frame from the back
- Secure with glazier’s points or frame clips
4. Mount Your Artwork
- Center your photo on acid-free backing board
- Secure with archival-quality materials
- For the perfect floating effect, ensure equal margins on all sides
- Insert mounted artwork into frame from back
5. Attach Hanging Hardware
- Measure one-third down from top on both sides
- Attach D-rings or sawtooth hangers
- Connect D-rings with picture wire
- Add bumper pads to bottom corners to maintain level positioning
Finishing Touches for Professional Results
The difference between amateur and professional-looking frames often comes down to the finishing touches. Sand all visible edges with fine-grit sandpaper before applying your chosen finish in thin, even coats.
For a truly modern look, consider matte black, crisp white, or natural wood finishes that complement rather than compete with your artwork. Protecting your art should always be a priority, so consider adding a clear protective topcoat in high-traffic areas.
Displaying Your Floating Frames
The standard height for hanging artwork is eye level, approximately 57-60 inches from floor to frame center. Choose wall locations with consistent, indirect lighting to minimize glare and protect framed pieces.
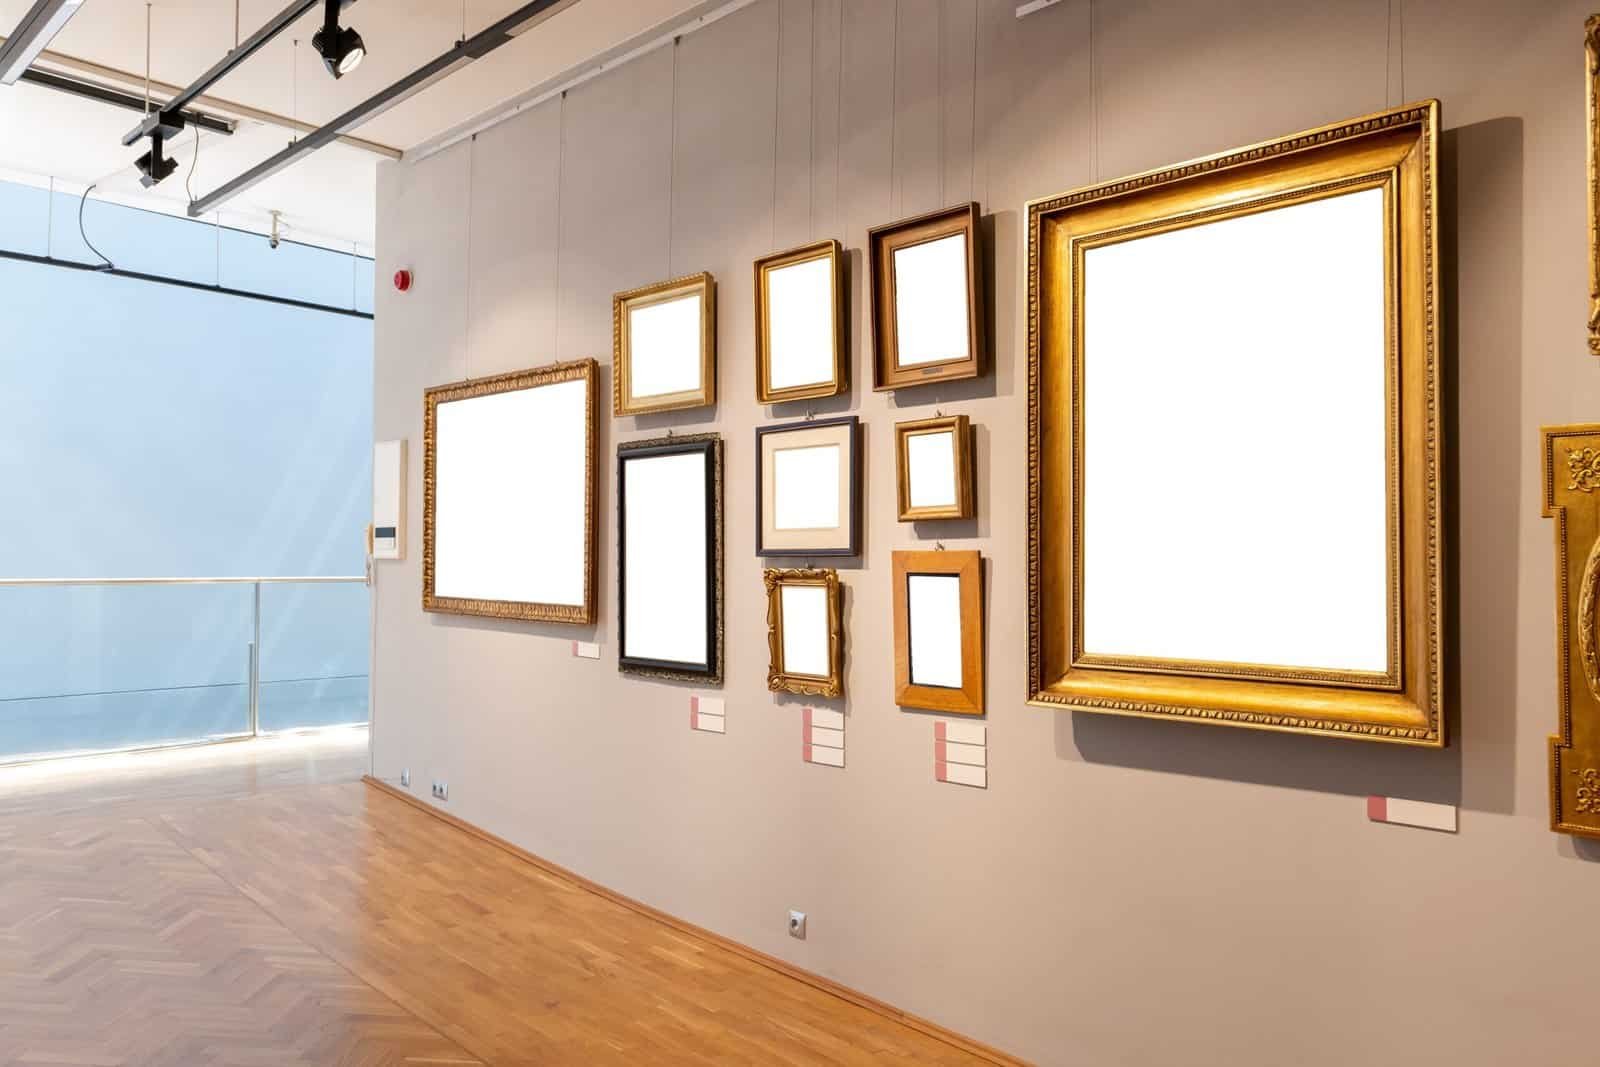
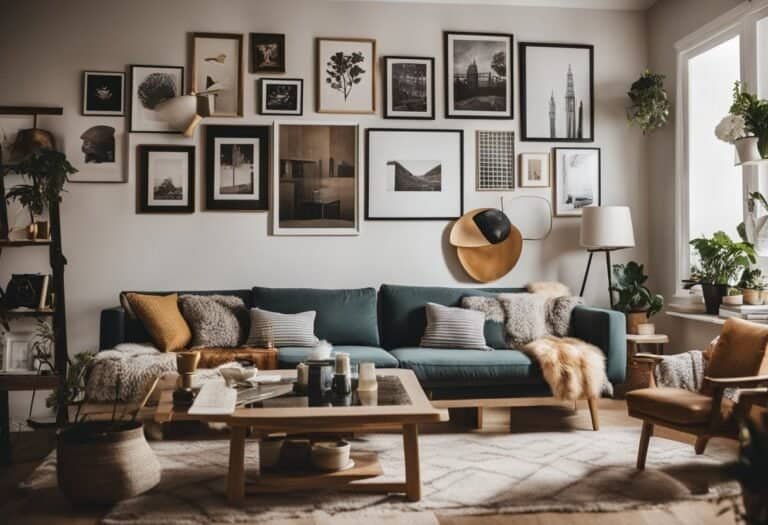
When creating a gallery wall, maintain consistent spacing between frames (typically 2-3 inches) for that clean, professional appearance. Use a level for each frame installation—a slight tilt is immediately noticeable and can diminish the overall impact of your display.
Maintenance Tips
To keep your floating frames looking their best:
- Dust weekly with a soft microfiber cloth
- Use appropriate cleaners for each material (wood, glass, metal)
- Position frames away from direct sunlight to prevent fading
- Maintain stable humidity levels to prevent warping
Troubleshooting Common Issues
Even careful crafters encounter challenges. If your artwork appears crooked within the frame, recheck measurements and use a level to verify alignment. For frames that hang crookedly, consider using two hanging points instead of one to distribute weight evenly.
Loose hardware can be fixed with a tiny amount of thread-locking adhesive, while shifting artwork might require stronger mounting materials like archival-quality double-sided tape.
Get Creative with Your Frames

The beauty of DIY floating frames is the opportunity for personalization. Consider varying frame sizes for visual interest or creating unconventional shapes like hexagons or circles for truly unique wall art.
Play with the gap width between photo and frame—wider gaps create dramatic floating effects, while narrower gaps offer subtle refinement. For family photo displays, create a coordinated set using the same wood type and finish for a cohesive gallery wall that tells your story.
Sustainable Framing Practices
At Mirror and Frame, we believe beautiful home decor shouldn’t come at the environment’s expense. When selecting materials, consider FSC-certified lumber from responsibly managed forests or fast-growing bamboo as an excellent hardwood alternative.
Water-based finishes release fewer volatile organic compounds, making them safer for your home. You can also transform old picture frames into floating ones by simply removing glass and adding spacers—a perfect weekend upcycling project!
Ready to Transform Your Walls?

Creating your own floating picture frames is a rewarding project that delivers professional results without the gallery price tag. The clean lines and contemporary feel make these frames perfect for showcasing everything from family photos to artwork.
Need inspiration or specialized framing advice? Visit Mirror and Frame for more DIY framing ideas and expert tips on transforming your space with properly framed art.
Whether you’re a seasoned DIYer or trying your hand at framing for the first time, our team is here to help you create a stunning gallery wall that showcases your memories and personality in style. Stop by our showroom today or browse our online resources to start your framing journey!


