DIY Framing Basics: Affordable Art & Photo Solutions
Transforming a plain piece of art or a cherished photo into a framed masterpiece doesn’t have to break the bank. Learn how to frame art and photos at home without spending a fortune.
With a few affordable materials and a little time, anyone can give their artworks a polished and professional look.
Framing at home not only saves money but also gives you full control over the style and design.
Whether it’s a sleek modern look or a classic frame with elaborate details, the choice is yours.
This guide will walk through everything needed to start DIY framing, from selecting materials to the final touches.
By mastering the basics, you can create custom displays that showcase your favorite pieces while fitting organically into your space.
Discover the practical tips and techniques that make home framing both easy and enjoyable.
Key Takeaways
- Save money by framing art and photos at home.
- Control the style and design with DIY techniques.
- Discover practical tips for easy and enjoyable framing.
The Basics of DIY Framing
DIY framing is a cost-effective way to showcase art and photos at home. It involves selecting materials and using framing techniques to create a finished product that resembles professional work.
Materials Needed:
- Frame: Choose according to the size and style of the artwork.
- Mat board: Adds a border between the frame and the art.
- Glass or acrylic: Protects the art from dust and damage.
- Backing board: Supports the artwork in the frame.
- Hanging hardware: Ensures secure placement on walls.
Steps to Frame Art:
- Measure the Artwork: Accurate dimensions are crucial for selecting the right frame.
- Select a Frame: Quality frames enhance and protect the art. Consider the art’s theme and colors.
- Cut the Mat Board: If using a mat, cut it to fit around the artwork, ensuring equal borders.
- Assemble: Place the glass or acrylic, artwork, mat (if used), and backing board into the frame.
- Secure and Finish: Use clips or points to keep everything in place. Attach hanging hardware to the frame back.
When framing a print or photo, similar steps apply. Ensuring everything fits snugly without gaps or slippage is essential for a polished look. You can find different framing techniques in online tutorials, like those on Framing 4 Yourself, which offer detailed guidance for newcomers.
Choosing to frame art or photos yourself not only saves money but also allows for personalization and creativity in decorating spaces. Quality frames can make a significant difference in appearance and longevity.
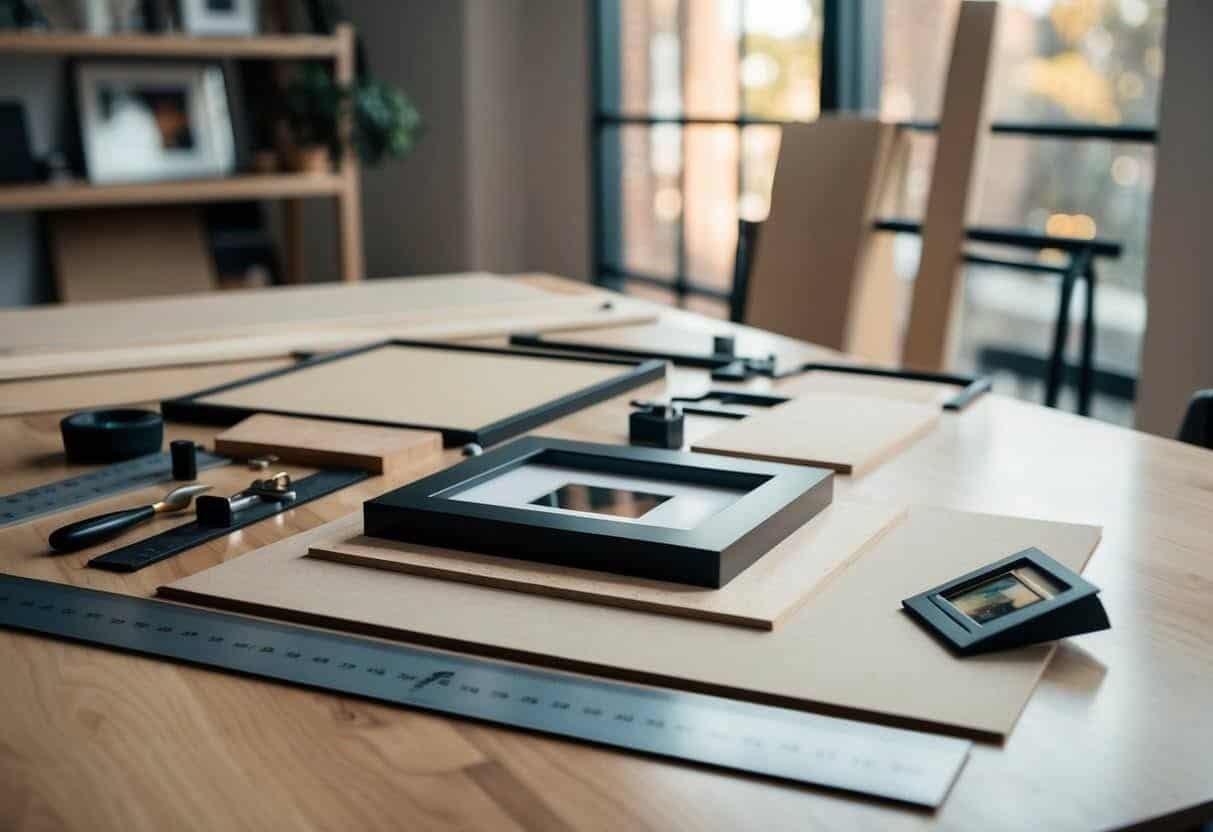
Materials and Tools

Creating a DIY picture frame at home involves selecting the right materials and having the necessary tools on hand. Key considerations include the type of wood, the use of mat boards, and additional elements like UV glass for protection. This can help achieve professional looking custom frames without overspending.
Choosing the Right Materials
When choosing materials for a DIY picture frame, the type of wood is crucial. Reclaimed wood or wood trim can add character and be cost-effective. The frame size will depend on the artwork, so taking precise measurements is essential.
Consider using a mat board to enhance the visual appeal and to provide a buffer between the artwork and the frame. UV glass is recommended to protect your art or photos from harmful sunlight. Both these materials can be ordered online, keeping the budget in check.
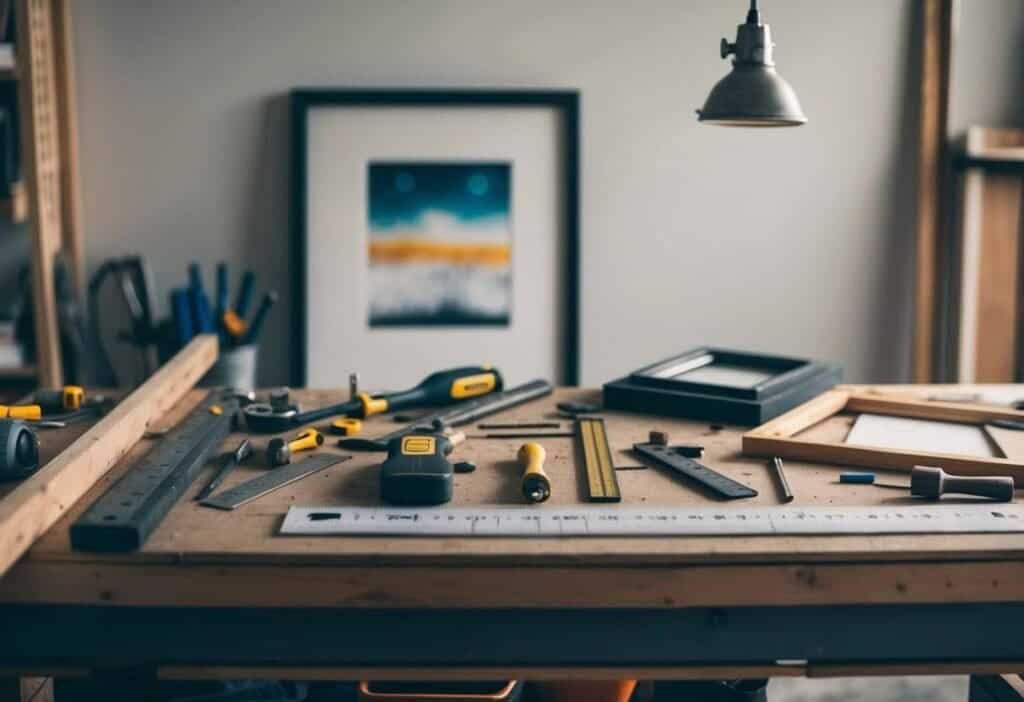
Essential Tools for DIY Framing
Having the right tools is essential when framing at home. A miter saw is useful for cutting the wood trim to the perfect angles.
To secure the frame edges, wood glue and wood filler come in handy. A brad nailer can be used for additional support in holding the frame together.
It’s important to smooth any rough edges using sandpaper before deciding on finishing touches. Paint or stain can add a final touch to match the decor. Having these essential tools will make the framing process easier and more efficient.
Designing Your Frame Layout
Creating a thoughtful design for your frame layout involves considering the appropriate size and matting, how to arrange multiple frames into a gallery wall, and choosing the right frames for art prints and posters. Each choice impacts the final presentation of your art or photos.
Determining Frame Size and Matting
Choosing the right frame size is crucial for enhancing the artwork. Measure the dimensions of your art piece first.
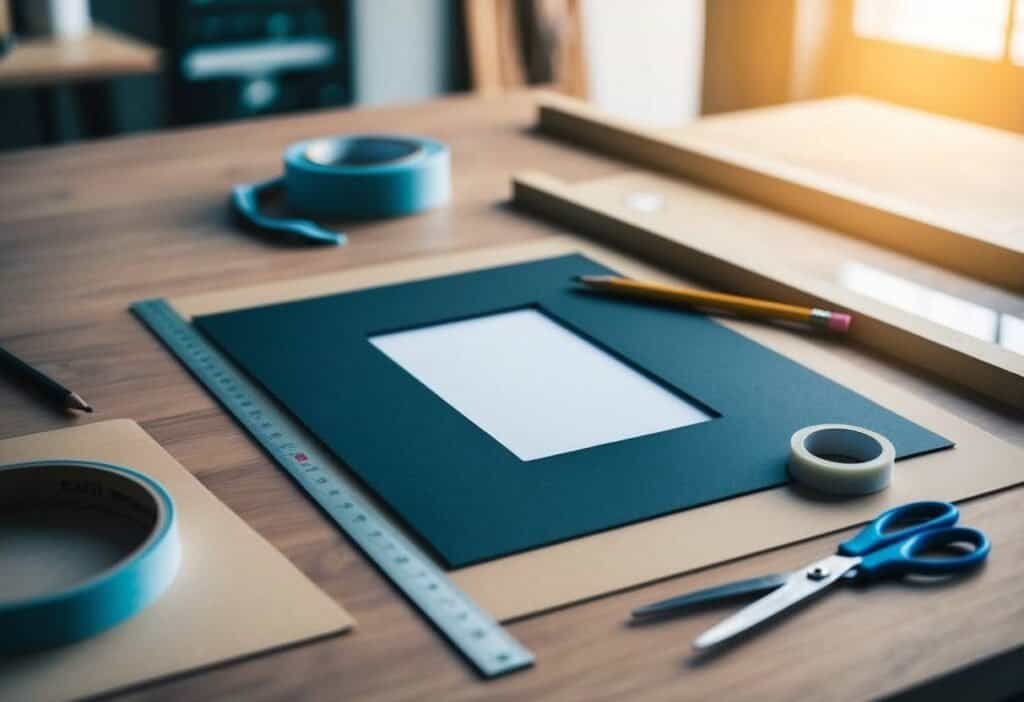
If you opt for matting, consider the mat size, which should balance the artwork while also fitting into the frame. Use an acid-free mat to protect the art over time.
For a polished look, the mat should be slightly larger than the artwork to create a visual border. This method is ideal for both protecting the piece and drawing attention to it. The frame size should then be selected based on the combined dimensions of the art and mat.
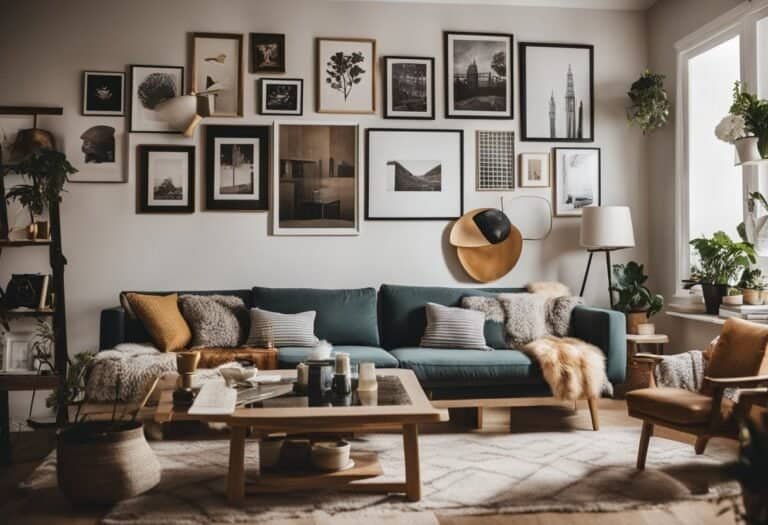
Creating a Gallery Wall
When designing a gallery wall, start by selecting a theme or color scheme to maintain cohesion. Arrange the frames on the floor first to explore different layouts.
Include a mix of frame sizes and shapes to add visual interest while ensuring the alignment at specific points for neatness.
Spacing is key; around 2-3 inches between frames typically works well.
Use paper templates on the wall before hanging to refine the arrangement. This tactic helps in visualizing the final look and adjusting without making unwanted holes in your walls.
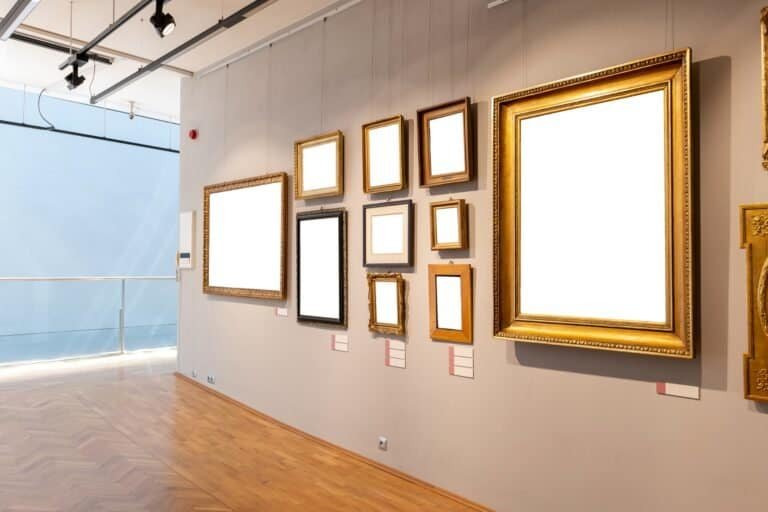
Selecting Frames for Art Prints and Posters
For art prints, the choice of frame should complement the artwork.
Simple, sleek frames often work well for colorful or intricate prints because they don’t overpower the content. Large prints can benefit from a sturdy frame that supports the piece without bending or warping.
Consider using poster hangers for casual or frequently changed displays. These allow for easy swap-outs and can be more cost-effective.
Ensure frames or hangers provide adequate support and protection against fading and wear, particularly for valuable prints.
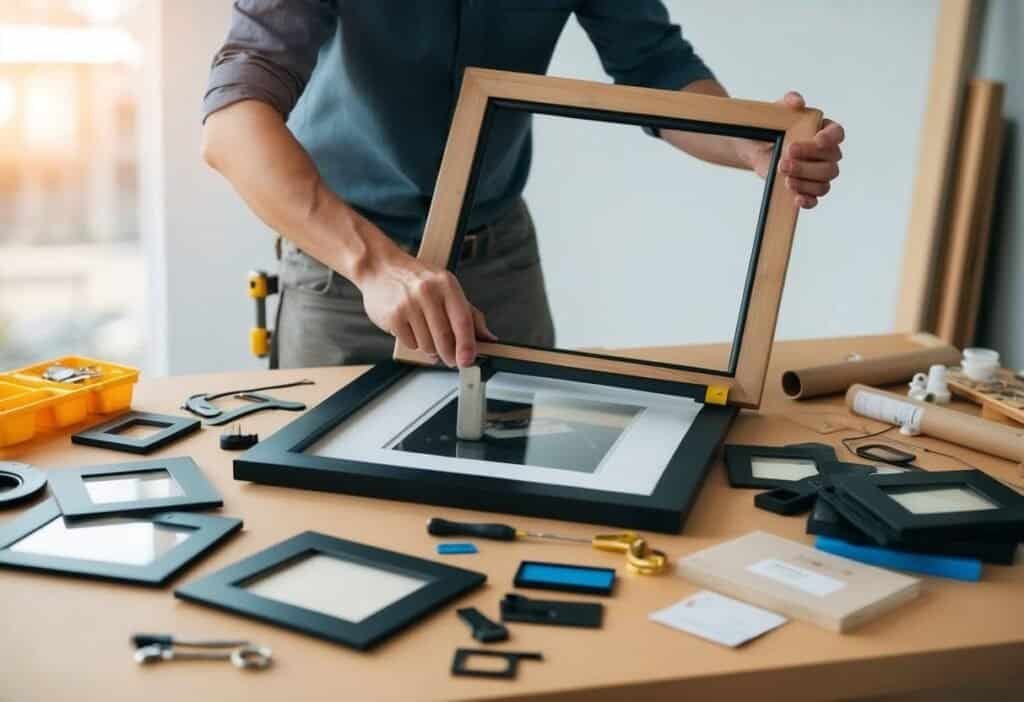
Assembling the DIY Frame
Creating a frame for your art or photos at home can save money and add a personal touch to your display. Good assembly ensures your artwork is secure and visually appealing. Here’s how to put together your frame and protect your art effectively.
Step-by-Step Framing Tutorial
To begin assembling a DIY canvas frame, gather materials like wooden frame pieces, a saw, glue, nails, and hanging hardware.
First, cut the wood to fit the dimensions of your artwork. If making a floating frame, ensure the outer frame is slightly larger.
Use wood glue to attach the pieces at the corners. Reinforce the joints with small nails or brackets. Allow the glue to dry completely before handling the frame further.
Next, place the artwork inside. If framing a print, use acid-free tape or corner mounts to secure it to a backing board.
Ensure it lies flat to prevent wrinkles or bends. Finally, insert the backing board and use the frame clips to hold it in place.
Tips for Securing and Protecting Your Artwork
When securing your artwork in the frame, always use materials that won’t damage it over time.
Acid-free tape is ideal for attaching prints. For floating frames, spacers can help create depth and prevent the artwork from touching the glass or acrylic front.
To protect the art, use UV-protective glass or acrylic to reduce fading from light exposure. If the artwork is delicate, like a charcoal drawing, ensure it doesn’t touch the glass.
For hanging art, attach sturdy hanging hardware to the back. D-rings or wire can help distribute weight evenly.
Position the hardware a third of the way down from the top of the frame for balance. Before hanging, mark the wall carefully to avoid mistakes.
Finishing Touches and Display
Making sure your framed artwork is ready to hang and looks good is often just as important as building the frame itself. This section outlines how to attach hanging hardware and offers ideas for displaying your work creatively.
Adding Hanging Hardware
Applying the right hanging hardware is a crucial step in DIY framing.
For smaller frames, sawtooth hangers are a simple and effective choice. They can be nailed directly onto the back of the frame and provide sturdy support.
For larger or heavier frames, picture wire offers greater security.
Start by attaching d-ring hangers to either side of the frame. Loop and secure the wire through these rings, ensuring it’s taut but not overly tight.
This setup makes it easier to adjust on the wall and increases stability.
Always center the hardware to distribute weight evenly. Using a level can help ensure your framed artwork hangs straight, enhancing the overall presentation.
Styling and Decorating with Framed Art
Styling framed art can transform a room.
Consider arranging frames in a gallery wall to add depth and personality. Combining different sizes and shapes creates a dynamic visual effect.
For a minimalist touch, single frames can be aligned evenly along a mantelpiece or shelf.
Incorporate colors from the artwork into surrounding decor, like cushions or throws, to tie the room together.
Floor-to-ceiling art is another stylish way to showcase an extensive collection.
Integrating varied frames and art styles maintains interest and prevents visual monotony.
Above all, the placement and arrangement of framed pieces should reflect personal taste and complement the space they occupy.
Budget-friendly Framing Options
Looking for ways to frame art without spending a fortune? There are plenty of budget-friendly options available.
DIY Framing is a great way to save money. You can create custom frames at home using simple materials like wood, glue, and paint. Websites like The Turquoise Home offer tips on framing canvases using repurposed materials.
Sourcing affordable frames can be as easy as checking out Facebook Marketplace. Many people sell gently used frames at a fraction of their original cost. It’s a convenient way to find frames in various styles and sizes.
Estate sales are another excellent place to look for budget-friendly frames. You can often find high-quality frames sold cheaply, allowing for cost-effective art decoration. It’s a fun way to discover unique finds and add character to home decor.
Thrift stores and discount outlets are also worth exploring. With patience, you can find frames with glass and matting that can be repurposed or customized.
Using old frames found around the home can be a smart choice too. A little bit of sanding, painting, or staining can transform a basic frame into something special and unique.