How to Mat Photos: technique used by photographers, artists, and framers
Matting a photograph is a simple and effective way to elevate its presentation and provide a professional finish. It’s a technique used by photographers, artists, and framers to enhance the visual appeal of artwork and protect it from damage. This comprehensive guide will delve into the art of matting photos, providing you with the knowledge and skills to mat your pictures like a pro.
Why Mat Photos?
Before we dive into the how-to, let’s explore the “why” behind matting photos.
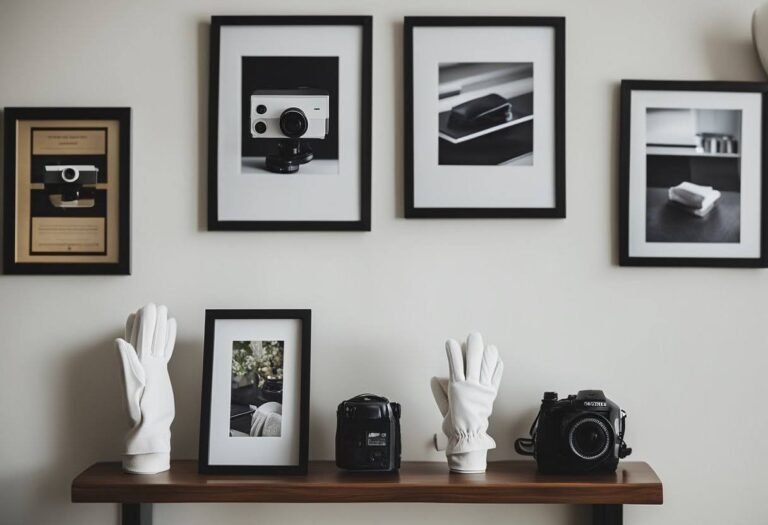
- Enhanced Aesthetics: A mat provides a visual buffer between the artwork and the frame, drawing the viewer’s eye to the photograph. It adds a touch of sophistication and elegance, making the image stand out. Imagine a stunning landscape photo surrounded by a crisp white mat – the contrast and added space elevate the viewing experience.
- Conservation: The mat acts as a protective barrier between the photograph and the glazing (glass or acrylic). It prevents the image from sticking to the glazing, especially in humid environments, and safeguards it from moisture damage.
- Professional Presentation: Matting instantly gives your photos a professional and polished look. It shows that you’ve taken the time and care to present your work in the best possible light, whether for display in your home, an exhibition, or sale.
- Complements the Artwork: A well-chosen mat can complement the colors, tones, and subject matter of the photograph. For example, a black and white portrait might benefit from a neutral cream mat, while a vibrant floral print could be enhanced by a subtle pastel mat.
Understanding Matting Components
To mat a photo successfully, you need to understand the basic components involved:
- Mat board: This is the thick paper-based material that forms the mat. It comes in a variety of colors, textures, and thicknesses. Conservation-quality mat board is acid-free and lignin-free, ensuring it won’t yellow or damage the photograph over time.
- Photo: This is the artwork being matted. It can be a print, an original photograph, or any other two-dimensional artwork.
- Backing board: A sturdy board, often made of foam core or acid-free cardboard, used to support the photo and mat.
- Window mat: This is the mat board with the opening (window) cut to the desired size to reveal the photo.
- Hinge: Acid-free tape or photo corners used to attach the photo to the backing board.
Gathering the Necessary Tools
Having the right tools makes the matting process smoother and more precise. Here’s what you’ll need:
- Mat cutter: This is the most crucial tool. You can choose from several types:
- Bevel cutters: These create angled cuts in the mat board, giving it a professional, gallery-style look.
- Straight cutters: These produce straight cuts, which are suitable for simpler matting styles.
- Utility knives: While not ideal, a sharp utility knife can be used with a ruler and a steady hand for straight cuts.
- Cutting mat: A self-healing cutting mat protects your work surface and extends the life of your cutter blades.
- Ruler: A metal ruler with a cork backing is ideal for accurate measuring and cutting.
- Pencil: Use a soft pencil to mark measurements and cutting lines on the mat board.
- Eraser: A kneaded eraser is best for removing pencil marks without damaging the mat board.
- T-square or straight edge: This helps ensure your cuts are straight and perpendicular.
- Hinging tape or photo corners: For attaching the photo to the backing board.
- Bone folder: A flat, smooth tool used to crease the mat board for easier folding (optional).
Step-by-Step Guide to Matting a Photo
Now that you have the tools and understanding, let’s walk through the process of matting a photo:
1. Measure and Calculate:
- Measure your photo: Accurately measure the width and height of the photo you want to mat.
- Determine mat width: The general rule is that the mat width should be at least three times the width of the photo’s thinnest side. For example, if your photo is 8×10 inches, the mat width should be at least 3 inches. You can adjust this based on your aesthetic preference and the size of the frame.
- Calculate mat board dimensions: Add twice the desired mat width to each dimension of your photo. For an 8×10 photo with a 3-inch mat width, the mat board should be 14×16 inches (8 + 3 + 3 = 14, 10 + 3 + 3 = 16).
2. Mark and Cut the Mat Window:
- Position the photo: Place the photo face down on the back of the mat board, ensuring it’s centered. Use a pencil to lightly trace the outline of the photo.
- Calculate window dimensions: Subtract the desired reveal from each dimension of the photo. The reveal is the amount of the photo that will show around the window opening. A typical reveal is ¼ to ½ inch. For an 8×10 photo with a ¼ inch reveal, the window dimensions would be 7 ½ x 9 ½ inches.
- Mark the window: Measure and mark the window opening inside the traced photo outline, ensuring accurate dimensions and centering.
- Cut the window: Using your mat cutter, carefully cut along the marked lines. For bevel cutters, ensure the beveled edge faces the window opening.
3. Attach the Photo:
- Position the photo: Place the photo face down on the backing board, aligning it with the center.
- Apply hinges: Use hinging tape or photo corners to attach the photo to the backing board. Hinges should be placed along the top edge of the photo, allowing it to “hang” freely.
4. Assemble the Mat and Backing Board:
- Align the mat: Carefully place the window mat over the photo attached to the backing board, ensuring proper alignment.
- Secure the mat (optional): You can use linen tape or a few small pieces of acid-free adhesive to secure the mat to the backing board. This is generally not necessary if the mat will be framed.
5. Frame the Matted Photo:
- Choose a frame: Select a frame that complements the photo, mat, and overall style.
- Insert the matted photo: Carefully place the matted photo into the frame.
- Secure the frame: Follow the frame manufacturer’s instructions to secure the backing and any glazing.
Tips for Professional Matting
- Invest in quality materials: Use conservation-quality mat board and acid-free hinging tape to protect your photographs from damage over time.
- Consider multiple mats: Using two or more mats can add depth and visual interest to your presentation. For example, you could use a cream outer mat and a darker inner mat to create a subtle frame within a frame.
- Experiment with colors and textures: Don’t be afraid to try different mat colors and textures to find what best complements your artwork.
- Practice makes perfect: Start with simple matting projects to gain experience and confidence before tackling more complex designs.
- Use pre-cut mats: If you’re unsure about cutting your mats, pre-cut mats are readily available in standard sizes.
- Seek professional help: If you have a valuable or irreplaceable photograph, consider having it professionally matted and framed.
Common Matting Mistakes to Avoid
- Using acidic materials: Avoid using regular cardboard or tape, as the acid content can damage your photo over time.
- Overlapping the photo: Ensure the mat window opening is slightly smaller than the photo to avoid overlapping and obscuring the image.
- Inaccurate measurements: Double-check your measurements and calculations to avoid cutting errors.
- Uneven cuts: Use a sharp blade and a steady hand to ensure clean and even cuts.
- Ignoring the overall aesthetic: Choose a mat color and style that complements the artwork and the intended display environment.
Beyond the Basics: Advanced Matting Techniques
Once you’ve mastered the fundamentals, you can explore more creative matting techniques:
- V-grooves: These are decorative grooves cut into the mat board, adding a subtle design element.
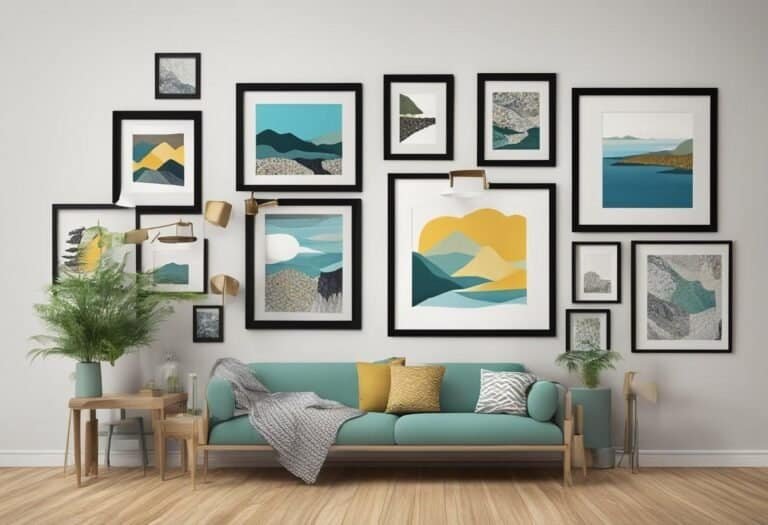
- Multiple openings: Create a mat with multiple openings to showcase a series of photos or related images.
- Floating mats: This technique creates the illusion that the artwork is floating within the mat window.
- Decorative cuts: Experiment with unique shapes and designs for the mat window opening.
Conclusion
Matting your photos is a rewarding way to enhance their presentation and preserve them for years to come. By understanding the principles of matting, investing in the right tools, and practicing the techniques, you can create beautiful and professional-looking displays for your cherished photographs. Whether you’re a seasoned photographer or a casual enthusiast, matting opens up a world of creative possibilities to showcase your work in its best light.


