Custom Picture Framing at Home: DIY Projects to Showcase Your Photos
Photos capture our most treasured memories and deserve better than being stuck in a phone gallery. Creating your own DIY picture frames transforms ordinary photos into stunning wall art that reflects your personality. With just a few simple materials and basic tools, anyone can make custom frames for less than $5 that look store-bought.
Handmade frames offer unique ways to display family portraits, vacation snapshots, or artwork. Thrift store frames can be repurposed into industrial farmhouse style pieces with minimal effort. The creative possibilities are endless—from staining wood for a rustic look to adding decorative elements that match your existing decor.
Understanding Picture Framing

Picture framing serves both protective and aesthetic purposes. The right frame enhances visual appeal while preserving memories for generations.
Frames serve several important functions:
- Protection: Shields artwork from dust, moisture, and damage
- Preservation: Proper framing with acid-free materials prevents yellowing
- Presentation: Enhances the visual impact of photos
- Personal expression: Reflects your style and complements home decor
Modern framing offers numerous options to suit different styles:
- Box frames: Create depth by setting the artwork back from the glass
- Shadow boxes: Deep frames for displaying three-dimensional objects
- Floating frames: Suspend artwork to create the illusion it’s floating
- Gallery frames: Clean, simple designs popular in professional displays
Custom wood frames can be crafted at home to perfectly match specific artwork. Frame materials affect both style and function—wood provides warmth and traditional appeal, while metal suits modern décor.
Preparing to Frame Your Picture
Before diving into the framing process, select your photo and gather appropriate materials to protect your cherished image.
Selecting the Right Photograph
Choose a photograph that has special meaning and fits your intended display space. For important keepsakes, use archival-quality prints that resist fading. Standard sizes (4×6, 5×7, or 8×10 inches) are easier to frame than custom dimensions.
Handle prints by their edges to prevent fingerprints or oils from damaging the surface.
Measuring and Choosing Materials
Measure your photograph precisely before purchasing or cutting any materials.
For the frame itself, consider these options:
- Wood: Versatile, can be stained or painted
- Metal: Modern look, typically more durable
- Plastic: Lightweight and affordable
- Bamboo: Eco-friendly natural option
Use acid-free mat board for valuable photos to prevent yellowing. For glazing, glass offers better clarity but is heavier, while acrylic is lighter and shatter-resistant but may scratch more easily.
Designing Your Picture Frame
Choosing Frame Style and Material
For a simple DIY approach, you can create wooden frames for under $5 using basic lumber. Many DIY enthusiasts prefer working with wood because it’s easy to cut and join at the corners without specialized equipment.
Selecting Matting and Mounting Options
Matting creates space between your artwork and the glass, adding depth and visual interest. Common configurations include:
- Single mat: Clean, simple look
- Double mat: Adds depth with a thin accent color along the inner edge
- Float mounting: Suspends artwork so all edges are visible
The mat color should complement, not compete with, your artwork. For mounting, acid-free adhesives or corners prevent damage to valuable photos.
Determining the Glass or Acrylic Glazing
Glazing protects artwork from dust, moisture, and UV damage.
Glass Options:
- Regular glass: Affordable, scratch-resistant
- UV-protective glass: Blocks harmful rays that cause fading
- Museum glass: Reduces reflection, blocks UV rays (premium option)
Acrylic Options:
- Standard acrylic: Lightweight, less likely to break
- UV-protective acrylic: Prevents fading
- Non-glare acrylic: Reduces reflections
Tools and Workspace Setup
To create beautiful custom DIY picture frames, you’ll need these basic tools:
- Measuring tape and pencil
- Miter saw or miter box with hand saw
- Wood glue and clamps
- Sandpaper (various grits)
- Hammer and brad nails or staple gun
- Framing square
A dedicated workspace with good lighting prevents damage to your materials and projects. For those with limited space, no power tools are required for some framing projects.
DIY Framing Techniques
Cutting and Assembling the Frame
When cutting your frame pieces, use this simple formula:
- Frame length = photo width + (2 × frame thickness)
- Frame width = photo height + (2 × frame thickness)
Apply wood glue to the mitered corners and secure them with corner clamps. Small L-brackets provide additional support.
Thrift store frames can be repurposed into unique designs by disassembling and reconfiguring them to fit your photos.
Securing the Picture and Glazing
Clean your glazing material thoroughly before placing it into the frame first, followed by a mat if desired. For valuable photos, use acid-free mounting techniques:
- Acid-free tape hinges
- Photo corners
- Archival mounting boards
Avoid regular tape or adhesives that can damage photos over time.
Applying Backing and Hardware for Hanging
Secure the photo assembly with a proper backing board, typically foam core or corrugated cardboard. Attach the backing using offset clips, small brad nails, or framing tape.
For hanging hardware, position D-rings at about 1/3 down from the top of the frame and use coated picture wire rated for at least twice your frame’s weight.
Creative Framing Ideas
Innovative Matting Techniques
Consider using textured papers or fabric mats like silk, linen, or burlap for a sophisticated look.
For truly personalized matting, try:
- Maps for travel photos
- Sheet music for wedding pictures
- Book pages for literary themes
- Decorative wallpaper that matches your decor
Decorative Frame Embellishments
Upcycled picture frames offer endless possibilities for personalization. Try adding natural elements like seashells, dried flowers, or small pinecones.
Paint techniques like distressed finishes for vintage photos or metallic finishes for formal portraits create dramatic results.
Themed Frames for Special Occasions
DIY picture frame projects can be tailored to specific events by incorporating elements from weddings, adding personal touches to baby photos, or creating holiday-themed frames.
Maintenance and Preservation
Cleaning and Caring for Frames
Dust frames weekly using a soft microfiber cloth. Clean glass with ammonia-free cleaner sprayed onto the cloth—never directly onto the glass. For acrylic, use only products designed for plastics.
Handle frames by their sides rather than by the hanging wire to prevent damage. Check for loose components quarterly.
Protecting Framed Photos from Damage
Position frames away from direct sunlight to prevent fading. Maintain optimal humidity levels between 40-50% to prevent warping and mold growth.
Environmental Factors to Control:
- Temperature (65-75°F ideal)
- Humidity (40-50%)
- Light exposure (avoid direct sunlight)
- Air quality (minimize dust)
Use acid-free matting and backing materials for conservation quality framing.
Project Showcase
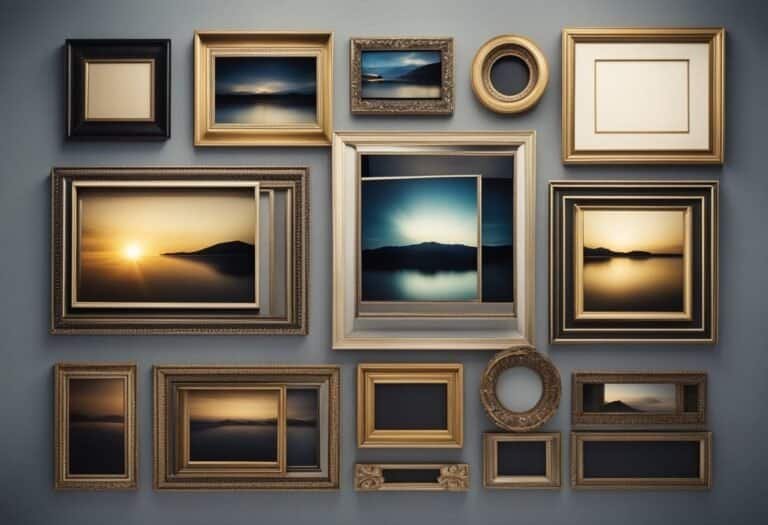
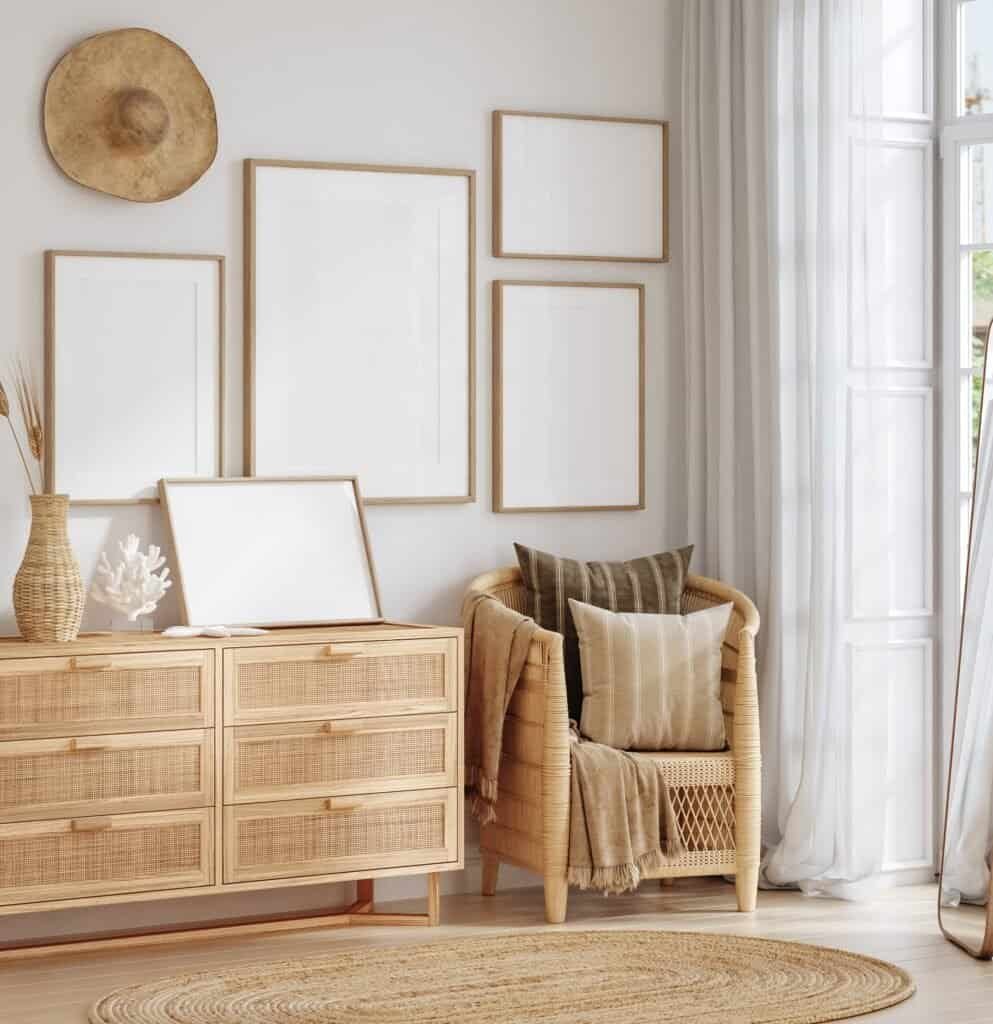
Gallery Wall Arrangements
Gallery walls create dramatic visual impact with multiple framed photos. For a cohesive gallery, choose frames with a unifying element, such as the same color with varied sizes or the same style with different photo themes.
Maintain 2-3 inches between frames for a balanced look. Odd-numbered groupings often create more visually pleasing arrangements than even numbers.
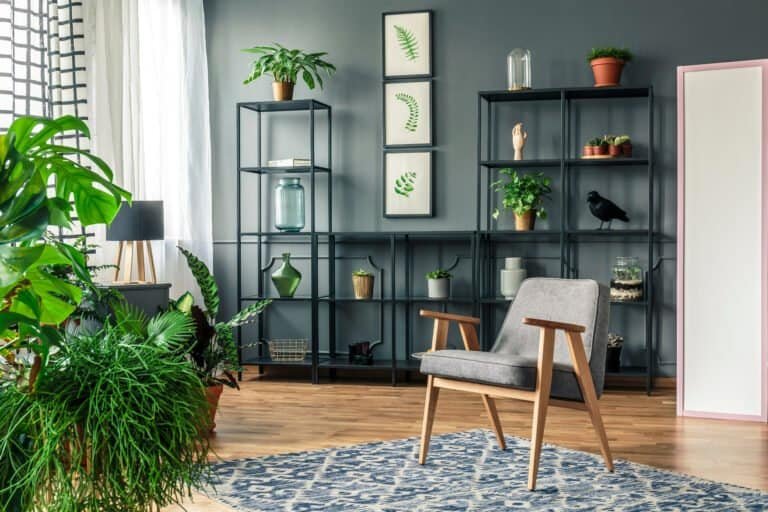
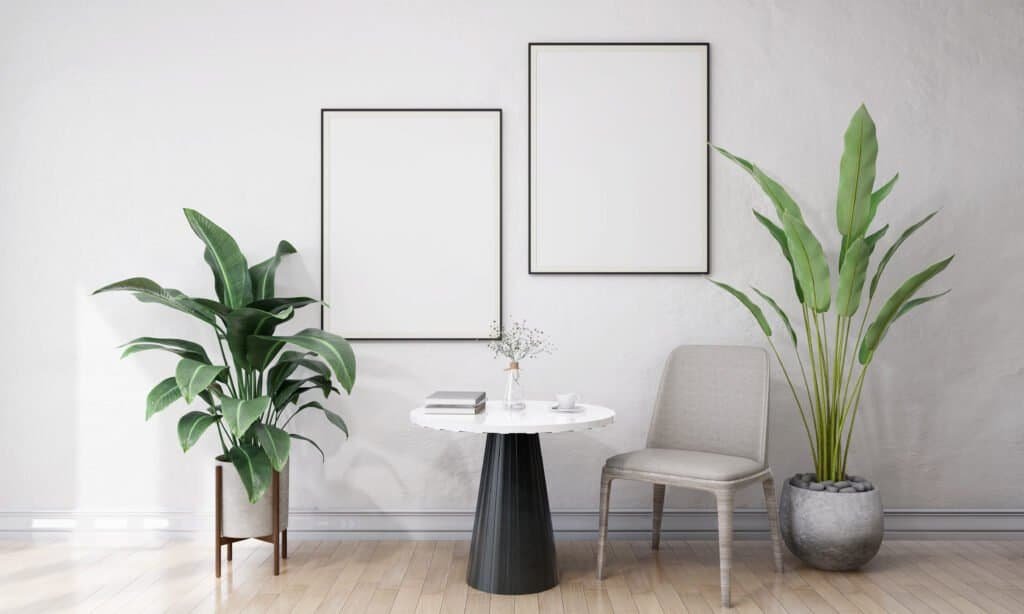
Tabletop Frame Displays
Tabletop displays offer flexibility for changing your photo showcase without wall commitments. Create depth by placing frames at different heights and angles. Incorporate complementary objects like small plants or books to enhance visual interest.
Digital Picture Frames and Alternatives
Digital frames show hundreds of photos in rotation. Beyond standard digital frames, consider photo projection systems or video-capable frames. For those preferring physical prints, magnetic photo ropes offer a casual, changeable display.
Ready to Start Your DIY Framing Project?
With these techniques and tips, you’re well-equipped to create beautiful custom frames for your cherished photos. Whether you prefer classic wooden frames or innovative display methods, DIY framing allows you to preserve memories with personal style.
Visit Mirror and Frame for quality framing supplies, expert advice, and inspiration for your next project.