DIY Custom Picture Frames: A Beginner’s Guide Using Basic Tools and Materials
Creating custom picture frames doesn’t require expensive equipment or advanced woodworking skills. With just a few basic tools and materials, anyone can make professional-looking frames at home. Making your own custom DIY picture frames allows for complete control over size, style, and finish while often costing less than store-bought alternatives.
Frame-making is an excellent entry point for woodworking beginners. The process involves simple straight cuts and basic assembly techniques using tools many people already own. Homeowners can create frames using a miter saw or even just a miter box with a handsaw.
Understanding Picture Frames

Picture frames serve both practical and aesthetic purposes in displaying and preserving artwork and photographs. They come in various designs that have evolved throughout history to suit different artistic movements and interior styles.
Picture frames have evolved from ancient Egyptian wooden panels to Renaissance gold-leaf designs and modern minimalist styles. Today, frames preserve valuable memories and highlight artwork by creating a visual boundary between the image and its surroundings.
Common frame styles include:
- Standard frames: Traditional four-sided frames with mat, backing, and glass
- Shadow boxes: Deep frames for displaying three-dimensional objects
- Floating frames: Display artwork with space between the art and frame edge
Frames protect artwork from environmental damage while creating visual emphasis around the displayed piece.
Tools and Materials
Basic Tool Overview
A simple set of tools is all you need for custom frames:
- Miter saw or miter box with hand saw for precise 45-degree angles
- Measuring tools including tape measure and square
- Hammer or nail gun for joining corners
- Wood glue (specifically Titebond is recommended)
- Corner clamps to hold pieces while glue dries
- Sandpaper (medium and fine grit)
- Small finishing nails or v-nails
Choosing Frame Materials

Wood is the most popular material for DIY frames. Pine offers affordability and easy workability for beginners. Hardwoods like oak, maple, or walnut provide more durability but require sharper tools.
For larger frames, consider:
- 1×2 or 1×3 lumber for simple, modern designs
- Decorative molding for traditional looks
- Reclaimed wood for rustic aesthetics
The width and thickness of your material should complement the size of your artwork. Larger frames typically need wider, thicker materials for proper proportion.
Selecting Glass and Backing Materials
Glass options include:
- Standard window glass: Affordable and widely available
- Acrylic (Plexiglass): Lighter and less breakable than glass
- UV-protective glass: Prevents artwork fading
For backing, acid-free foam board offers rigidity and preservation qualities. Mat board creates professional spacing between artwork and glass. Choose acid-free options for valuable pieces.
Designing Your Picture Frame

Defining Dimensions and Size
Start by measuring your artwork. The frame’s inner dimensions should be slightly larger than your artwork to allow for proper mounting. For photos or prints, add 1/8 inch to each side.
If including a mat board, add space for the mat border (typically 2 inches but adjustable based on preference).
Consider the frame width carefully. Delicate artwork pairs well with thinner frames (3/4 to 1 inch wide), while larger pieces may need wider frames (1.5 to 2.5 inches) for proper proportion.
Style Considerations
Your frame style should complement your decor and artwork. For rustic spaces, consider rough-hewn wood with visible grain. Modern interiors pair well with clean lines and minimal profiles.
Frame profiles add character:
- Flat profile: Simple and versatile
- Scoop profile: Traditional with gentle inner curve
- Beveled edge: Creates subtle shadow lines
Consider adding decorative splines at the corners using contrasting wood for visual interest.
Frame Construction Techniques
Cutting and Joining
Use a miter saw for clean 45-degree angles at each corner. Measure twice before cutting, ensuring the inside measurement matches the artwork size plus overlap.
For joining corners:
- Apply wood glue to both surfaces
- Use corner clamps to maintain perfect 90-degree angles
- Add reinforcement with splines, corrugated fasteners, v-nails, or small brads
Securing the Picture and Glass
Assembly order from front to back:
- Frame
- Glass or acrylic
- Mat (optional)
- Artwork
- Backing board
Cut acid-free mat board slightly larger than the frame opening. Use points or glazier’s points to hold everything in place.
Attach picture frame backing using small brads or a staple gun. Install hanging hardware based on the frame’s weight.
Finishing Touches
Sanding and Filling
- Sand all frame surfaces with medium-grit sandpaper (120-150 grit)
- Fill gaps with wood putty matching your wood type
- Allow putty to dry completely (1-2 hours)
- Sand again with finer-grit sandpaper (220 grit)
- Wipe away dust with a slightly damp cloth
Staining or Painting
For staining:
- Apply wood conditioner to prevent blotchiness
- Use foam brush or lint-free cloth for even application
- Wipe off excess stain after 5-10 minutes
- Allow to dry completely between coats
For painting:
- Apply wood primer first
- Use latex or acrylic paint
- Apply thin coats rather than one thick layer
- Sand lightly between coats
Applying Protective Finishes
Apply a protective topcoat such as water-based polyurethane. Apply 2-3 coats, sanding lightly between each with 320-400 grit sandpaper.
Mounting and Displaying Your Frame

Hanging Hardware Options
Choose appropriate hardware based on frame weight:
- D-rings: Reliable for most frames, attach 1/3 down from the top
- Sawtooth hangers: Simple option for lighter frames (under 10 pounds)
- French cleats: Best for heavy frames, keeps frame flush against wall
- Command strips: No-hole solution for renters (check weight limits)
Mounting Best Practices
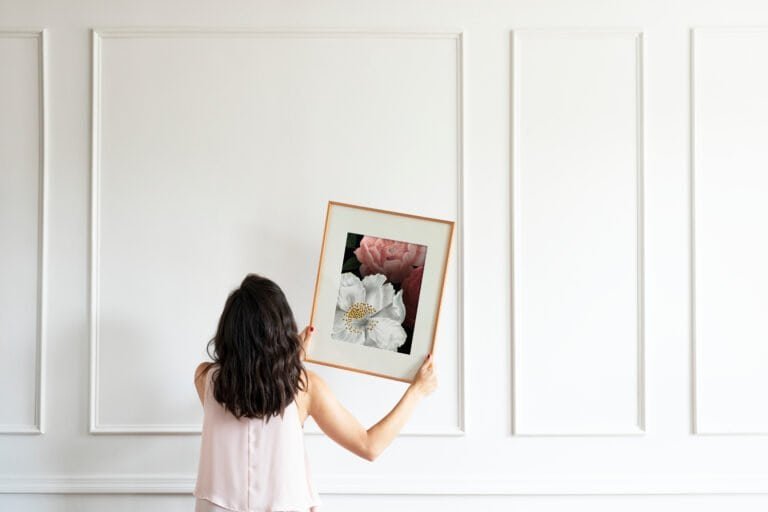
- Use a level to ensure straight placement
- Install proper wall anchors when not mounting into studs
- Space multiple frames 2-3 inches apart for gallery walls
- Enlist help for mounting larger or heavier frames
Creative Placement Ideas
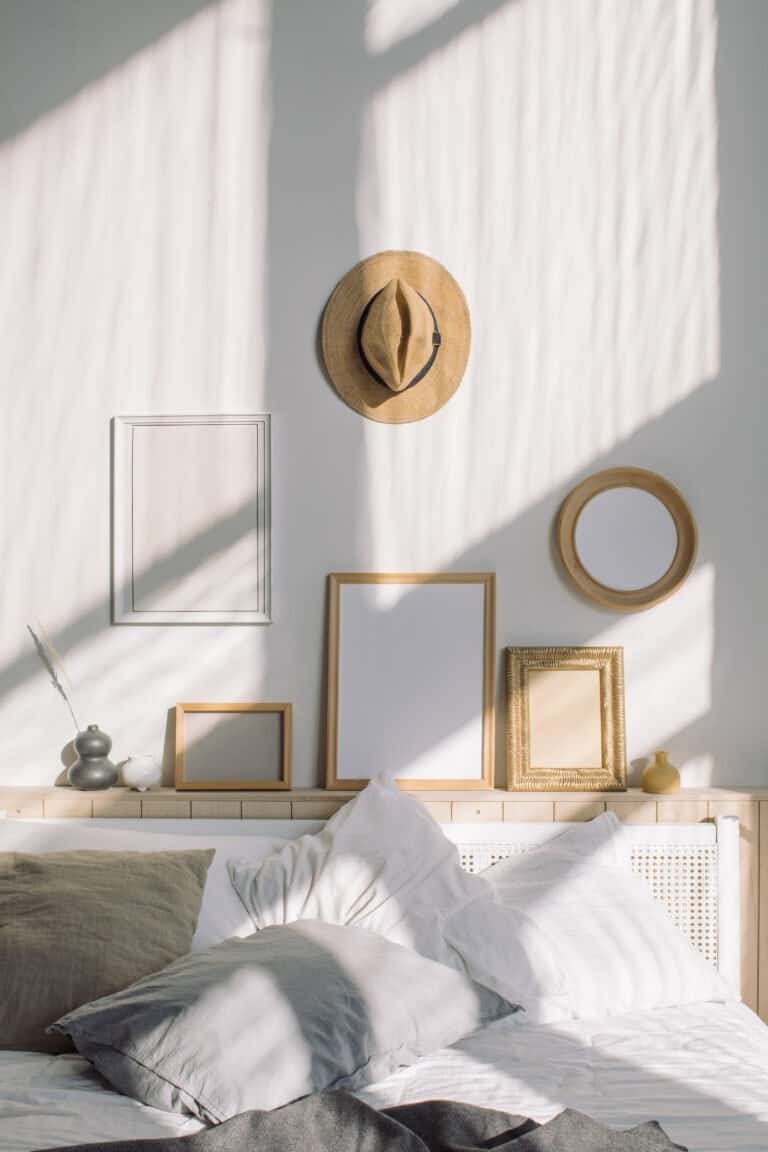
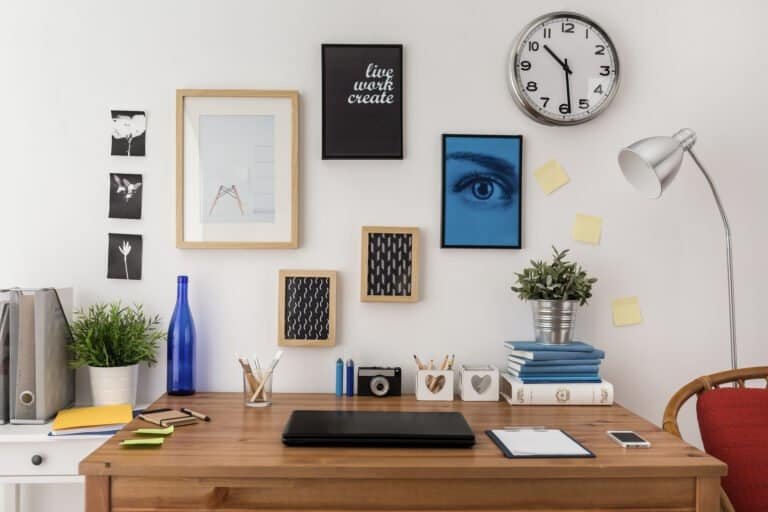
- Create gallery walls by arranging multiple frames together
- Use floating shelves for casual display and easy swapping
- Consider unexpected locations like bathroom walls or staircase walls
- Group frames by theme or color for cohesive displays
- Position frames away from direct sunlight to prevent fading
Maintenance and Care
Routine Cleaning
- Dust frames weekly with a soft microfiber cloth
- For frames with clear finish, use slightly damp cloth with mild soap when needed
- Clean glass with lint-free cloth and glass cleaner (spray on cloth, not directly on glass)
Damage Prevention
- Position frames away from direct sunlight
- Maintain stable humidity levels
- Use proper hanging hardware rated for your frame’s weight
- Apply furniture wax to wooden frames every 6-12 months
- Inspect frames quarterly for loose joints or damage
Troubleshooting Common Issues
Frame Warping
For warped frames, apply gentle heat while bending back to shape. For severe warping, dampen a cloth, apply gentle heat with an iron, then clamp between flat boards until dry.
Prevent crooked picture frames by storing frames flat and away from humid areas.
Glass Replacement
Measure precisely before purchasing replacement glass. Consider clear acrylic as a safer alternative, especially in children’s rooms.
Repairing Loose Joints
For separated miter joints:
- Remove old glue with fine sandpaper
- Apply fresh wood glue to both surfaces
- Use corner clamps until dry
- Reinforce with small L-brackets if needed
Sustainability Practices
Incorporate eco-friendly approaches:
- Use reclaimed wood from old furniture or pallets
- Choose FSC-certified wood or bamboo
- Use water-based glues and low-VOC finishes
- Minimize waste by planning cuts carefully
- Consider natural oils instead of chemical varnishes
- Reuse glass from old frames
- Source materials locally to reduce transportation emissions
By following these guidelines, you can create beautiful custom frames that protect and showcase your artwork while enjoying the satisfaction of handcrafted home decor.


